Tuesday, May 31, 2011

PM/GC Skill Builders Series Part 8B - Flying Geese

6Check out Sandi's post on flying geese here.

I love flying geese. Love, love, love them. So much so that I've made two quilts and one top:


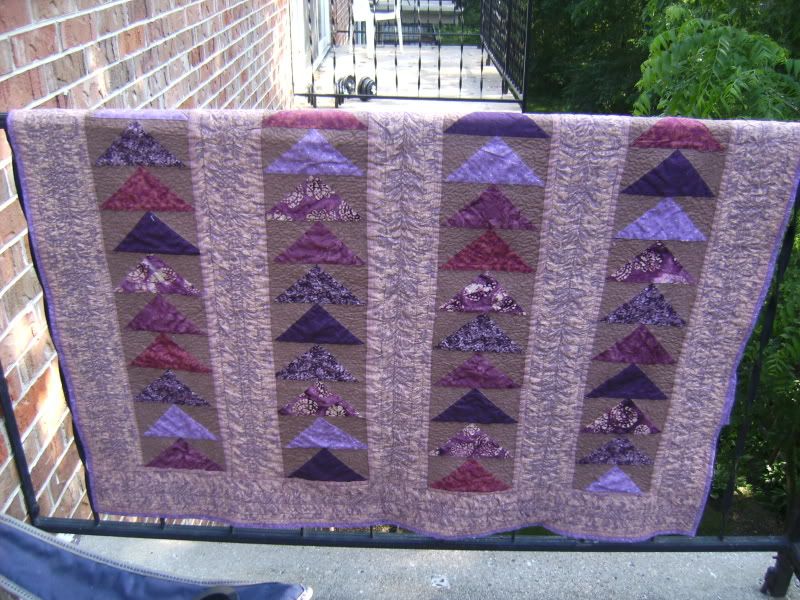
Is there an end in sight? Probably not. They're just so much fun!

And so much more fun now that I know how to make FOUR flying geese from nothing but squares... No, I'm really not kidding! Read on...

In general, the accepted proportions for flying geese is that the width is twice the height. Since we want to end up with a Flying Dutchman Block that is 12" x 12", our flying geese need to finish at 3" by 6". Now that you know how large your flying geese need to be, you can get started with this super simple method.

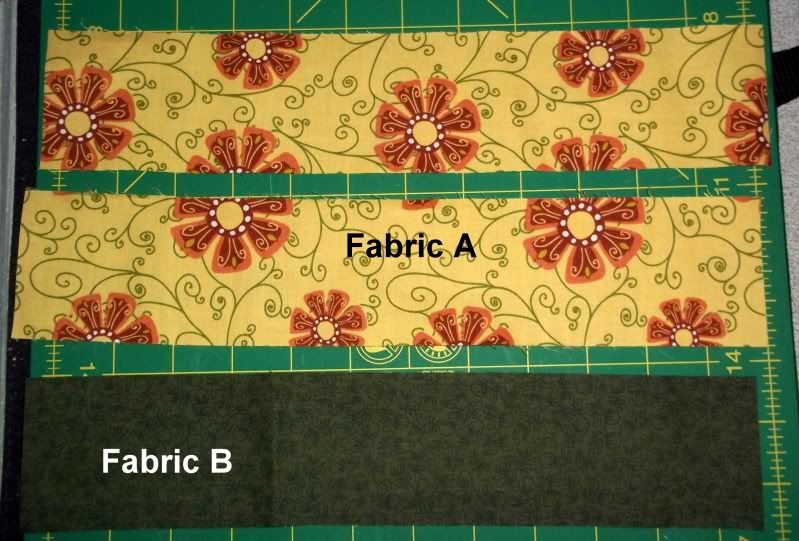
All you have to do is take the finished width of your geese (6") and add 1 1/4" to it. That's your starting square size: 7 1/4". Now, I like to trim down, so I actually made my starting squares a quarter inch bigger, rounding up to 7 1/2".  For your sky triangles, the finished height of your geese is 3". If you remember the magic number for Half Square Triangles (because that's what the sky pieces are) you already know we need to add 7/8" to get the size you need to cut your sky squares to. Again, I trim down, so instead of 3 7/8", I cut mine at 4".

1.) Now, to make a Flying Dutchman, you need a total of eight flying geese. This means you need two squares at 7 1/2" and eight squares at 4".

2.) This next step you can just ignore... I like to do it, because I'm anal retentive. Just draw two lines on the 7 1/2" squares, from corner to corner, making an 'X'.


3.) Take your 4" squares, and draw one line from corner to corner, bisecting the square. That's your cut line.

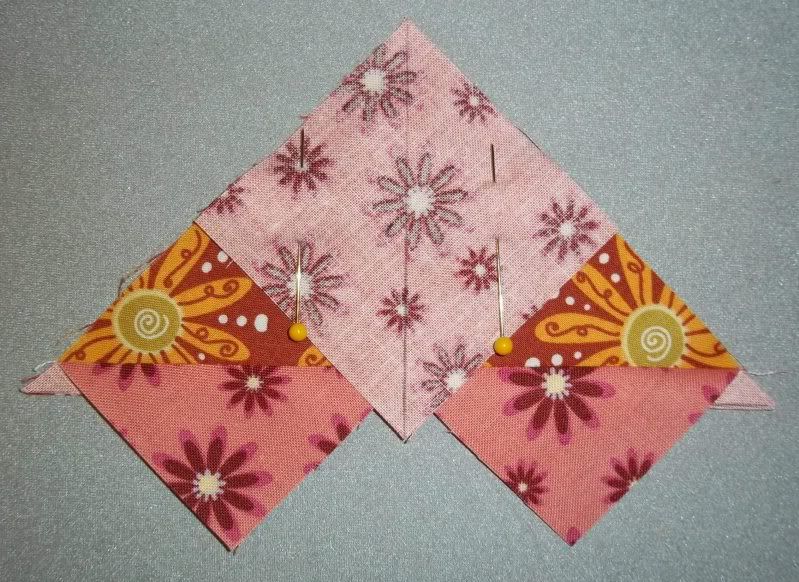
4.) Now all the lines are drawn, take a big square and two little ones and pin them together like so:


5.) See a quarter inch seam on either side of the center line - I know it's kind of hard to see. Sorry! It didn't occur to me until after I was underway that I should have switched to black thread.


6.) All right. You've got two seams sewn in. Cut down the middle, following that center line that you just sewed alongside. I thought I took a photo of that, but clearly, I'm insane. Anyway, once it's cut, and you have two triangles, it's time to break out the iron.

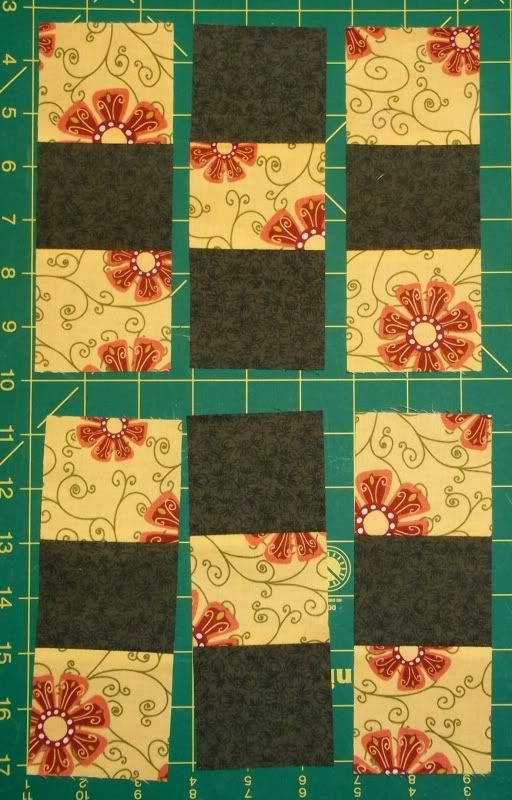
7.) Press that sub-unit open, and you should have something that looks like a heart. Actually, you'll have two of them. Apply all of the following steps to both hearts.


8.) And don't worry! We're still on the right track. Take another 4" square and pin it to the sub-unit:


9.) Again, sew a quarter inch seam along either side of your drawn line:


10.) Now, cut in half (Yes, I know... a little late to actually have the post cutting pic):


Rinse and repeat all the steps for your second set of squares, and ta-daa!!


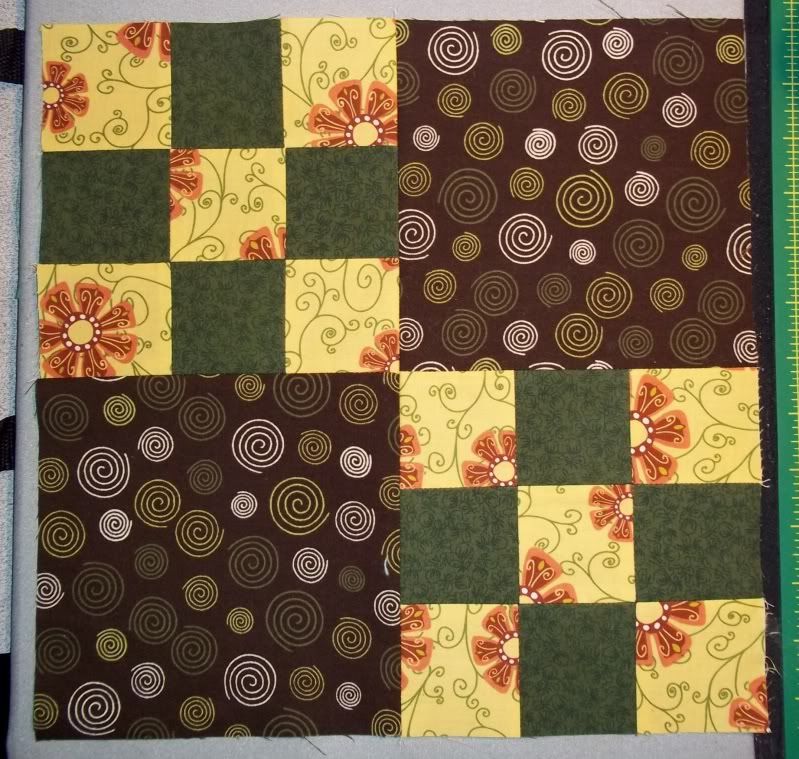
Eight perfect flying geese. Trim down to 3.5" by 6.5". then you're all set to make your Flying Dutchman block:


Don't you want to make tons and tons of flying geese now?  It's SO easy this way.

Sunday, May 22, 2011

PM/GC Skill Builders Series Part 7 - Leader/Ender Projects

Look familiar?

I use these all the time... Threads get tangled under the sewing plate or right at the beginning of the fabric, created snarls that make us snarl.

Just a little scrap of fabric, zipped under the sewing foot right before I start sewing patches together. Keeps everything nice and neat, and I'm not making like a frog more often than I need to be.

So, what's my point, right?

You might have read about Leader/Ender projects on other blogs. I have to admit, I don't use them as much I as could. I've got a ton of scraps, but I haven't really started making use of them in a while - Zebediah likes to use them to play in. He likes Momma to bury him in scraps.

Anyway... Leader/Ender projects are a great way to use scraps, OR to make blocks comprised of lots of small pieces. Typically, you see a lot of postage stamp quilts done this way, but really, anything could be done as a Leader/Ender projects.

The theory is that you just start off sewing patches together in pairs, starting off your piecing with a Leader, and sewing what you've set out to sew, and then ending with, well, an Ender. The trick is to leave that Ender under the needle without cutting the thread, so that you can just get right to it next time you sit down at your machine.

It just takes a little preparation.  Cut a bunch of your pieces and have them ready to go whenever you are. It's totally up to you what size and shape patches. Some projects that I think would make awesome Leader/Ender projects: anything scrappy, Double Wedding Rings, Postage Stamps Quilts, Stacked Coins...

The sky's the limit. I recommend selecting a project that you think you'd never have the patience to do otherwise. You'll build progress long before you realize it, and it's really confidence building to suddenly look and realize that you've got a good chunk of a quilt top ready to go with some chain piecing. That's why I mentioned the Double Wedding Ring. A lot of us have a lot of fear over some patterns. Leader/Ender projects are a great way to break something down into manageable chunks.

Check out http://www.quiltville.com/leadersenders.shtml for some excellent and diverse examples. There is a book out there too: Adventures With Leaders & Enders. Again, the sky is limit. Just get adventurous with them.

I have to admit - I've never really used Leaders and Enders, but I really should. It's such a useful way of getting something done without getting bogged down in the "will I ever finish this?" or the "why did I start this?"

Wednesday, May 18, 2011

PM/GC Skill Builders Series Part 6B - Nine Patches and Strip Piecing

I've been absent for a bit...

My mother-in-law went into for a routine mammogram a couple of weeks ago. The results weren't exactly routine. Lumps were found, and her doctor sent her home with the expectation that she was likely dealing with breast cancer. Five days after the lumps were found, my mother-in-law underwent a lumpectomy, so that they could be biopsied. I've seen my husband worried and scared before, but never to such a degree. He lost his father when he was twelve, so this was agonizing for him.

Two days of anxious waiting after the lumpectomy - It's not cancer. Thank God.

So, the last couple of weeks have been spent keeping kiddo out of grandma's hair so that she could recuperate and re-connecting as a family. Sometimes it's just so easy to forget how much certain people mean to one's life. I haven't lost nearly as much family as my husband has, so it's one of those lessons that just hit home, and I wanted to hunker down with the family for a bit.

Now, having said that, I'm BACK! Again, lol. I've rediscovered that more than five hours of sleep really screws me up - I spend the day tired and groggy. I'm so much better off sleeping less rather than more. So, these hours between midnight and 2 AM - those are MY hours. I'm re-claiming them for sewing and writing.

Now, let's get down to business:

STRIP PIECING IS OUR FRIEND!

If you haven't strip-pieced yet, you're going to ask yourself why you haven't done this yet! It's so simple, and is really just a matter of forethought. Nine-patches are a great way to learn strip piece. I've decided to make a Double Nine Patch block today that finishes at 12", to complement Sandi's lesson here.

Strip-piecing is exactly as it sounds: You piece longer strips together, and cut those pre-pieced strips so that you've made several subunits with way less cutting and matching. You just have to know how long your strips should start out at, which is super simple multiplication. For instance, our Double Nine Patch block requires that the starting squares be 2.5" each.

Since I'm only making one block, it's really not that big a deal to cut a bunch of 2.5" squares and piece them together. However, if I needed to make several of the same block, there is no way that I'm cutting that many 2.5" squares and trusting that they'll all remain where I need them to.  Thus, a little multiplication.

Nine patch blocks break down easily into three sections, of alternating values. This means that I have two identical sections and one that differs. Since I'm making two nine patch blocks, I need four and two. 2.5" times four is 10" in length, and 2.5" times two is 5" in length. You'll see where these come into play in a bit.

Start off by cutting two 2.5" x 10" strips of Fabric A and one the same size of Fabric B if you feel comfortable cutting the length exactly. I cut my strips at 2.5" x 12" because I prefer to trim down and be sure that my sub-units are the correct sizes.Then cut two 2.5" x 5" strips of Fabric B and one the same size of Fabric A. Again, I actually left the length longer, so that I could be sure of the finished sizes of segments.


Now, just take one 2.5 x 10" strip each of Fabric A and Fabric B and put them right sides together. Sew a scant 1/4" seam along the full 10" length. Take the second strip of Fabric A and sew to the other side of Fabric B, so that your fabrics alternate.  Do the same for the 2.5" x 5" strips, just ensure that Fabric A is your center fabric.

Iron your seams open or to one side. Again, I'm a seams open gal. Your strip units should appear something like:
Once your seams are all behaving, cut four 2.5" wide segments from your 10" strip. Cut two 2.5" wide segment from your 5" strip. You should have a set of six sub-units like this:
I've laid them out in the order that the finished blocks will appear, because I'm visual and have to see them in the right order as I'm piecing, or I freak out constantly and second-guess myself.

Sew your sub-units together and you should have two nine-patch blocks:
Now that you've got two perfect 6.5" nine patch blocks, but now you need two 6.5" squares cut from a single fabric to make a Double Nine Patch. Go on and cut those, and sew all four units together to make a block like so:
And there you have it! Strip-piecing is a wonderful technique that takes away a lot of the "OMG! So many pieces!" agony that we all experience at some point.