Friday, September 30, 2011

I Hate My Brain...

I've finished Urban Worm, gotten back on the horse with the Farmer's Wife Sampler, and have actually been feeling creative. So, I turned my attention to the Kona Cotton Challenge once again. I'd actually designed a top for it in EQ7:
I like it. It's very traditional, very pretty... and would have made for a crap ton of piecing, and more effective with yardage, not charms. Not exactly what I was going for.

So, my brain has been stewing on this conundrum. In my sleep. I woke up two days ago with the image of a design burning a hole in my consciousness. It would not leave me alone. So I finally got a chance to draw it out and make some tweaks to this design:
The flying geese that are all the same color - that's just a placeholder color for while I play around with the charm pack and figure out what gradients are getting used. And now I have an almost pathological need to get a Kona color card, so that I can make up the gradients that the charm pack isn't going to provide me with.

And yes, those are flying geese on a curve.

I am a sick, sick person.

Tuesday, September 27, 2011

Attack of the Farmer's Wife

I'm finally back to my Farmer's Wife blocks. I've already decided that I'm going to call this quilt The Farmer's Widow. Why? Because I just wasn't happy with the randomly scrappy blocks at all. Mind you, I love scrappy. Just not uncontrolled scrappy. I'm happiest having control over my color palette.

I decided everything needed a touch of neutral fabrics/colors in order to tie the blocks together. I haven't decided on my setting or sashing yet. I'm not sure that I want to just sash them and call it done. I'll think I'd like my setting to not be so simple as plain sashing.

#002 Autumn Tints
I love the big circle print. The circles are perfectly 3" in diameter, perfect for this block. It's got a great weight and feel to it. And, would you believe that it's a Walmart fabric?!? I promise, I'm not kidding. I took a chance a few shopping trips ago and saw that Walmart had precuts on clearance. Regular price works out to be $5 a yard. I think I paid $3.50 a yard. I'm pleasantly surprised!
Farmer's Widow
#004 Basket Weave
I switched the way the quadrants were laid out, to avoid  the look of a swastika. I also wanted to make sure that the lighter fabrics were on the outside, in case I decided to sash or set with a darker fabric.
Farmer's Widow
#009 Box
Super easy block to put together. I think it took me maybe fifteen minutes of sewing, tops. I just can't imagine using templates when rotary cutting a block like this is so much faster.
Farmer's Widow
#012 Broken Sugar Bowl
I couldn't see wasting the extra HSTs I would have had leftover from the strips I used to put #009 Box together, so I just used the same fabrics in this block. I like the contrast of the super red print against the gray.
Farmer's Widow
#016 Calico Puzzle
Another super easy block. I really love the plum color against the mustardy green print. I think it gives this block a very Asian feel.

That's it for the Farmer's Wife/Widow blocks today. Keep an eye out here. I've a bunch of bright blocks that I made for this quilt sampler that just don't work for the new color palette. I'll be giving those away here. I'll also be hosting a give-away for an entire quilt top. It's time for me to just start letting go of some projects.

Urban Worm Completed

Urban Worm has been completed! Which means that my Rock Valley Modern Quilt Guild 'Habitat Challenge' is done. Whew!

I should probably be mortified to tell you all just how glad I am this project is done. Seriously, folks, there were moments that I wanted to just burn this pile and walk away. Mostly because I just wasn't invested in the fabric. I felt obligated to complete the project because we'd signed up for the challenge, but also because we'd been given the fabric.

Then there was the whole challenge portion of this. I'm totally not in love with the Habitat line. Not even close. It's got some interesting prints in it, but overall... Not my bag. And I was working with a whole freaking line! I just don't do that. I've only deliberately bought most of the prints in a line once...

All that said, once I finally buckled down and decided that I would work on this particular project, did I make this mini-quilt easy on myself? Nope. Not. At. All. 

I decided that I would hand applique a 'worm' made up of one quarter Dresden Plates. Then, once the top was done, nothing would do but for me to find one yard of just the right marigold color for the backing. On top of that, I need to get perl cotton in at least four colors to do some chunky, sashiko-style quilting.


Thankfully, I had the top done by the time we were due to to go to the Wisconsin Quilt Expo and I was able to find both the perfect color backing and perl cotton in four colors that were just off enough to bring some more interest to the top.

The backing ended up being a Kaffe Fassett cross-weave cotton, which has a really loose weave. I like it for the texture that it added to the quilt as a whole, but I don't think I'll ever elect to use it again. It's a little pricey, and I don't like the looseness of the weave.

The sashiko-style hand-quilting seemed to take forever.  I don't regret doing it, really. I think it gives a warmth and rustic feel to the quilt, that is desperately needed to alleviate the otherwise unrelenting gray.

Overall, I'm very happy with the final product. I wish I hadn't procrastinated as long on it. It really made Urban Worm drag on when it didn't need to. I still have to wash the quilt; we'll see how it turns out then.

Sunday, September 18, 2011

FNSI and a Couple of 'Dur' Moments

I worked on 'Urban Worm' for Friday Night Sew-in.

Right off the bat I had some issues.. My tension wasn't cooperating. At all. So, I mucked about with it, re-setting the top thread tension several times and running some test lines with my walking foot. Running the gamut from setting 0 to setting 9, my top thread tension was too loose. So I decided that Bessie must need a tune-up.

So, I opened Bessie's bobbin casing up and removed shameful amounts of lint. More test lines. No resolution to my tension problem.

Okay. Let's try a new needle. Nada. About ready to pitch Bessie out the window at this point, as I wouldn't have Saturday to quilt, I had a *facepalm* moment.

Re-thread the machine, Jeanne. Always remember to re-thread the machine after making tension changes.

*sigh*

Yeah. That fixed Bessie.

That was Dur Moment #1.

I finished quilting Urban Worm in about an hour and half, after figuring out my tension problem. I was left with a few dozen tails hanging out of the front of my quilt sandwich to bury, because I have decided that I really dislike the look of taking some back-stitches to lock my threads.

At which point I taught myself a Quilter's Knot.

Seriously.

A dog's age ago, when I taught myself to quilt, books mentioned the quilter's knot and explained how this magical thing was supposed to be done. Unfortunately, the descriptions and diagrams available to me at that time made about as much sense as an engine schematic. My clearly addled seventeen year old self found an alternate and far more time-consuming method of burying and securing my tail ends.

Fast forward to Friday Night, when I realized that my method would take forever and would actually mar the look of the finished quilt. Youtube and this video to the rescue. It took a stupid number of tries to get it right and have the motions become muscle memory.

And, one must remember that the knot needs to be buried in the layers. If the thread happens to snap before burying said thread, then one will probably have to redo a line of stitching.

Yes, that happened. Welcome to Dur Moment #2. I still have to go back and pick that line of stitches out and re-do it.

Anyway, the grand sum of my trials and tribulations for Saturday was:
The photo is a little wonky, and I have a lot of excess to trim off. I'm hoping to get the binding done tonight, and then I can spend my commutes over the next week on the embroidery.

Friday, September 16, 2011

Friday Free For All

I ordered my solid for the Test Your Skills Sampler just a few moments ago, from fabric.com...


Let me just say that I'm SUPER happy.


Why? Because I just bought NINE yards of solids for $35.65.


That's right. Six yards of Kona Cotton Lake and three yards of Kona Cotton White (for another, separate project), and all for only $3.96 a yard. (Coupon code CAT811 for 15% off a purchase of $40 or more stacked on top of the sale price.) The sale ends 8/19/11. I'm not sure when the coupon code expires. And, no, I'm not sponsored by www.fabric.com, nor by anyone else. I just think it's awesome to be able to buy Kona for less than $6.00 per yard.


Kona Lake
I just pray that the Kona Lake color is actually very similar to the on-screen display (at left). Right now, it looks a shade or two away from the light aqua in my binding fabric. 


If it isn't, I guess I'll have six yards of Kona Lake for another project.


Also done this morning... Pinning the snot out of the quilt sandwich to get Urban Worm quilted. Apparently, Friday mornings will be when I get things done. I have an hour between getting the kiddo off to school and when I have to actually shower and get dressed for the part-time job. 


Speaking of Urban Worm, since I actually have something to work on, I'm joining in on Friday Night Sew-In.

Wednesday, September 14, 2011

Solids for the Test Your Skills Sampler

If anyone is going to participate in the Test Your Skills Sampler, and has their heart set on using a Kona cotton solid for their background...

www.fabric.com has several colors on sale for $4.66 or $5.85 a yard. I simply searched 'Kona' and came up with several pages of options. I didn't go through all of the available colors, because I'm not allowed to shop for anything until Friday, but there's plenty of options!

Sunday, September 11, 2011

Stuff and Things!

I spent the day at the Wisconsin Quilt Expo in Madison with Sandi of Piecemeal Quilts, her mother and two of her aunts. Yes, as has been pointed out, I am the baby of the group :)  I wouldn't have it any other way, though. These ladies are a blast, as proven by Sandi's mom started our day with some risque comments! I call it a winner of a day when I can spend it looking at quilts and fabric and laughing with some good friends, then enjoying good and (wonderfully) simple foods.

Speaking of food, I made some awesome (!!!!) and super simple cookie/toffee bar things. The recipe was called "Popularity Cookies". I highly recommend them!

Ingredients:

35 soda crackers or club crackers (I used club crackers, and I have no idea how many I actually used. I simply covered a 13" X 18"  walled cookie sheet)
1 cup of non-salted butter
1 packed cup of light brown sugar
1 cup of semisweet chocolate chips
1 cup of milk chocolate chips
1 cup of blanched, slivered almonds (a 4 oz package is exactly what you need, though I'd recommend giving them an additional rough chop or putting them through a quick whirl on a food processor after having made this recipe one. Additionally, you could really use whatever nuts you like. I'm thinking cashews would be heavenly on this! Regardless, I might also try toasting the nuts prior to putting them on the cookie bar thingies.)

Instructions:

1.) Preheat the oven to 400°F (or 205°C). Cover your walled cookie sheet with a layer of tin foil and line the crackers on the foil (I took the additional step of spraying the tin foil with non-stick spray).

2.) Combine butter and brown sugar in a saucepan. Stirring constantly, bring to a boil and boil for about three minutes. Pour over crackers completely; spread with a spatula if necessary.

3.) Bake for 3-5 minutes; watch carefully. (That's verbatim from the recipe. I'm honestly not sure what I was watching for. I pulled the tray from the oven when it looked like the toffee layer had gone solid.) Remove cookie sheet from oven, place it on oven door and sprinkle chips over baked crackers. When chocolate gets soft, spread over crackers with back of a spoon. Sprinkle slivered almonds on melted chocolate. 

4.) Place in refrigerator for at least 8 hours. Break into cookie-size pieces. This recipe freezes well. 

And since the Wisconsin Quilt Expo is a quilt show with the prerequisite vendors, I came home with loot! I've been a very good girl with finances lately, paying off credit cards and school loans, and, in general, not buying much for myself. So yesterday was a bit of a splurge. 

Now, before I show off the loot... I did go home with money left in my wallet, so I was a very good girl, and very restrained. Really.
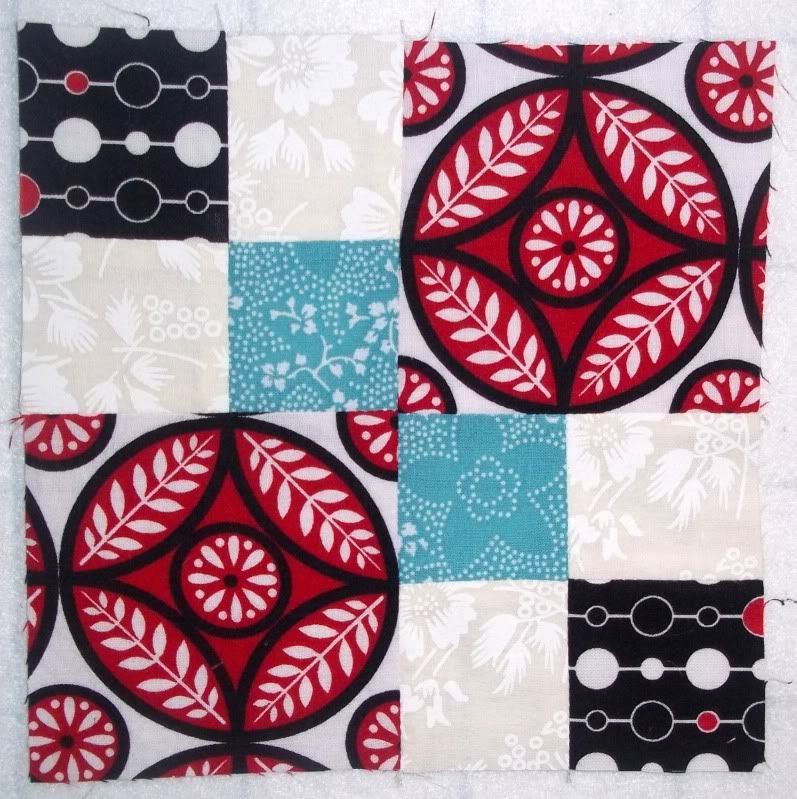
Nancy's Notions got the lion's share of my money, and mostly in fabric. From left to right, a one yard cut of Iron Quick Fabric, 2 yards of Rocket Scientist by Kari Beyer, Daydream in the green colorway by Bernatex, #7914 Stripey Tiger by Maywood Studios, and two charm packs of Plume by Tula Pink. I was so excited to see the charm packs - I LOVE Tula Pink's fabrics, and I'm not normally comfortable buying a) designer fabric at designer prices and b) pre-cuts. However, the charm packs were $6 each, and I've not had a chance to pick up ANY of Tula Pink's fabric before, so I grabbed it.
Again, from left to right. Perl cotton in four colors and one yard of a Kaffe Fassett cross weave cotton in goldenrod. These are for the Urban Worm. I'm so glad I found what I was looking for at the Expo, rather than having to troll through websites and hope that on screen color would accurately reflect what would arrive in my package. One yard of Ellie's Emporium by Sue Penn. This will be the binding for the Test Your Skills Sampler. A new combination seam ripper and clipper. Needle grabbers for hand-quilting. Two packages each of universal and quilting needles - they were on sale for $2.39 a package! Embroidery needles. Pink and yellow leads for my Sewline Mechanical Pencil, and a new thimble.

Oh, and not pictured: the free tote I got from Nancy's Notions for spending enough money in one go with them. *facepalm*

By the way, after spending the whole day walking a concrete convention floor, guess what I did? Take my son for a two mile walk to downtown because he wanted to see the river.

Yeah, I'm insane.


Saturday, September 10, 2011

Back Again

Yes, I've been gone a while. Life sort of took off at a gallop and left me behind, grasping for the reins. It's been busy - Zebediah went back to school, I've been working two jobs, and the fall semester started at the campus on which I work.

This two jobs thing is nice for paychecks. Too bad I'm not spending the 'extra' money on fabric. Nope. Not at all. (Well, except for tomorrow - tomorrow is the Wisconsin Quilt Expo in Madison) I'm being a responsible adult and paying off the credit card debt and school loans. Yay, me. **stalks off grumbling about adulthood**

So anyway, two jobs makes for not much quilting time. However, I have a half hour commute to and from work each day. I should get my act together and put together some hand-sewing. I *was* working on the applique for a challenge quilt, but I finished putting the top together tonight. I need more hand-sewing projects. really.

The challenge top is to the left... They're Jay McCarroll's Habitat. I honestly didn't really like the fabrics at first. It took a while for me to warm up to them - like, I had my stack of fat eighths in hand for a month before an idea came  to mind.

Overall, I'm quite happy with this so far. I wish my applique were better - it's a little bumpy in places. I probably should have basted everything down instead of working it freehand,  but live and learn. I plan on adding sashiko style embroidery for quilting, combined and contrasting with straight line machine quilting. I'll be binding it in the navy solid, I think. I want to find a marigold solid to back this with.

It measures about 24" inches wide. I'm not sure how long it is. I didn't actually measure from top to bottom, as this design sort of grew on its own. I started with struggling with the need to ensure that the challenge fabrics have a chance to shine on their own, which was hand-in-hand with the problem of design. I ended up deciding to contrast a traditional design against the ultra modern fabrics, which is how I selected the Dresden plate pattern. I wanted to incorporate more of the prints, which is why i added the top and bottom borders.

I'll be calling this one "Urban Worm". Now to get started on the solids challenge top.