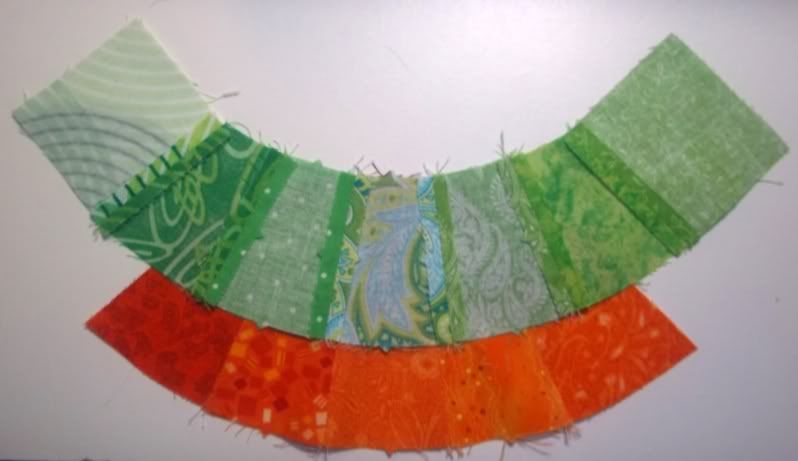
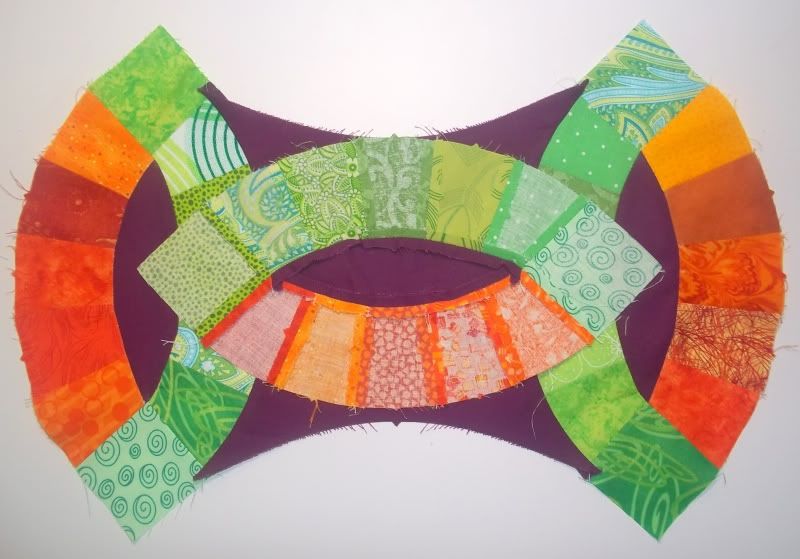
The photos will, hopefully, guide you through the process without too much confusion. You'll go from:
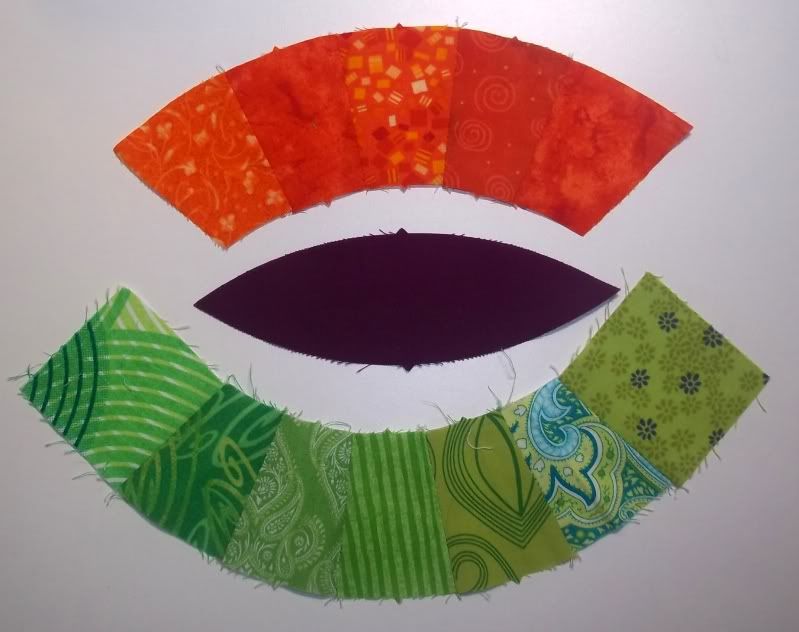
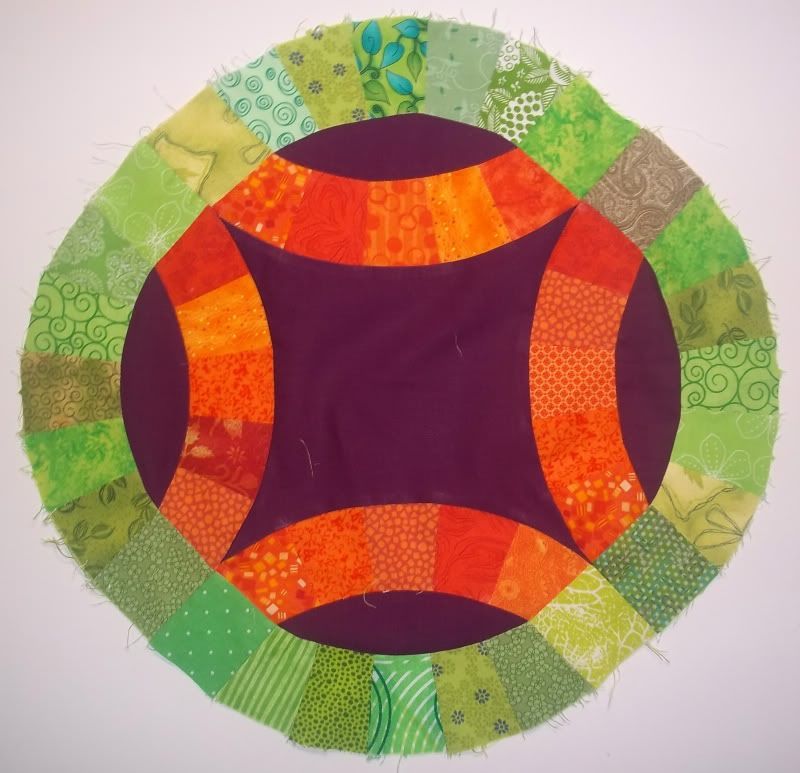
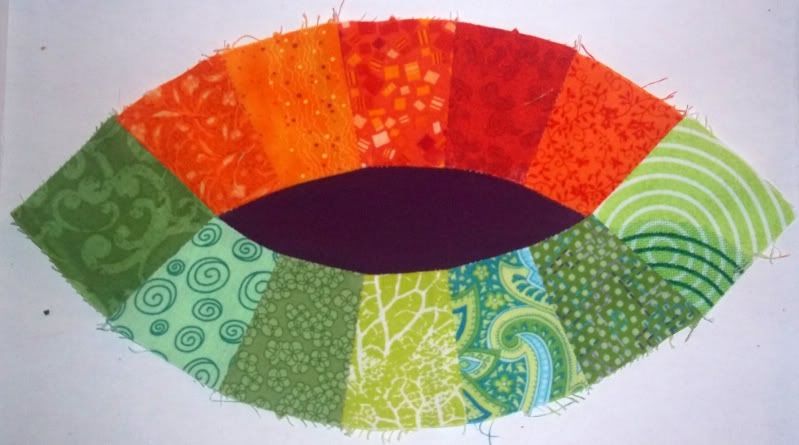
to
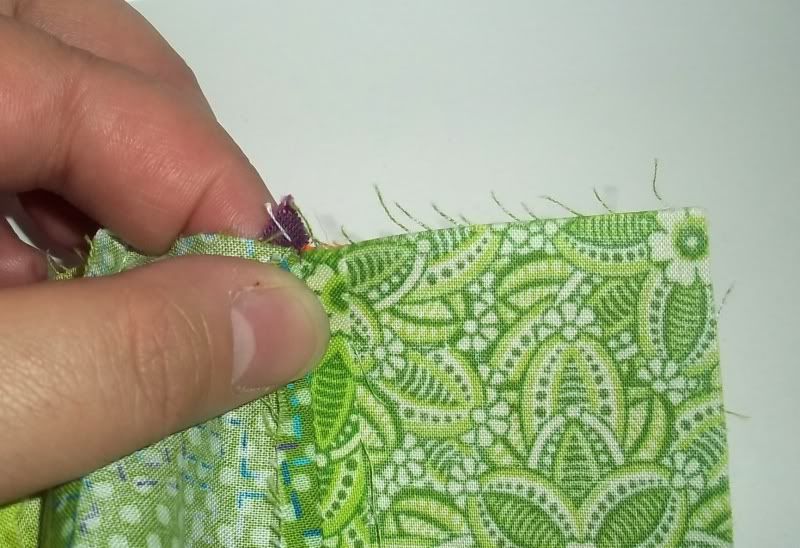
I always attach the short arc to the melon first. Find the mid-line of both your melon and, in this case, the orange arc. With GO! cut pieces, it's very easy. There are notches to mark those points. If you cut your pieces out from templates, you likely won't have those. I would fold each segment in half and press the fold to create a marker for yourself. Alternatively, you can draw the mid-line or eyeball it.
Once you've found your center, align your pieces like so:
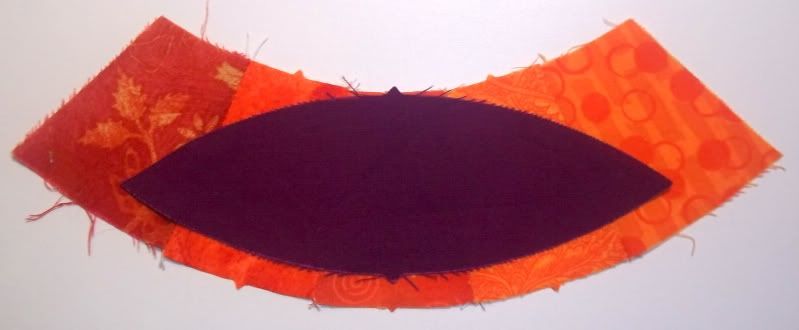


You'll have this now:
Isn't that pretty? And pretty gratifying too, if it's laying flat and not wavy, bunchy or full of puckers. But wait! There's more.
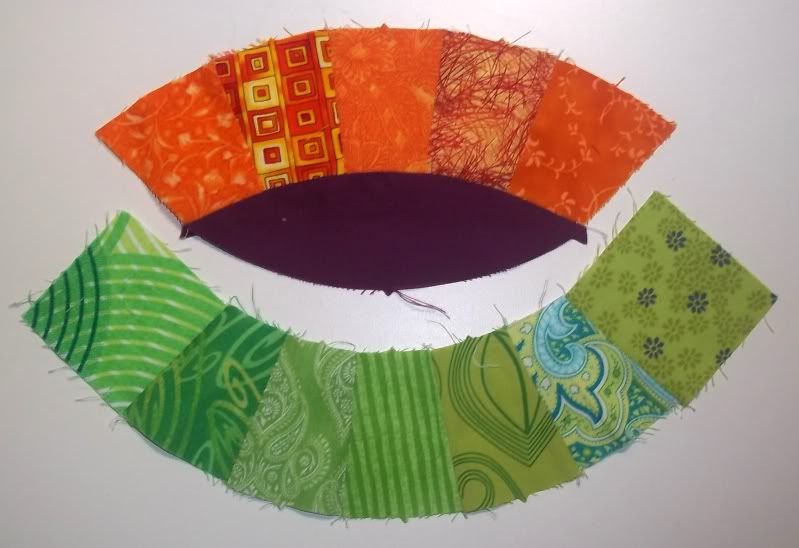
Take your center and align you the complete football with the center's midline. You MAY mark the point where the two 1/4" seams intersect at the 'ears' of the center. I don't.
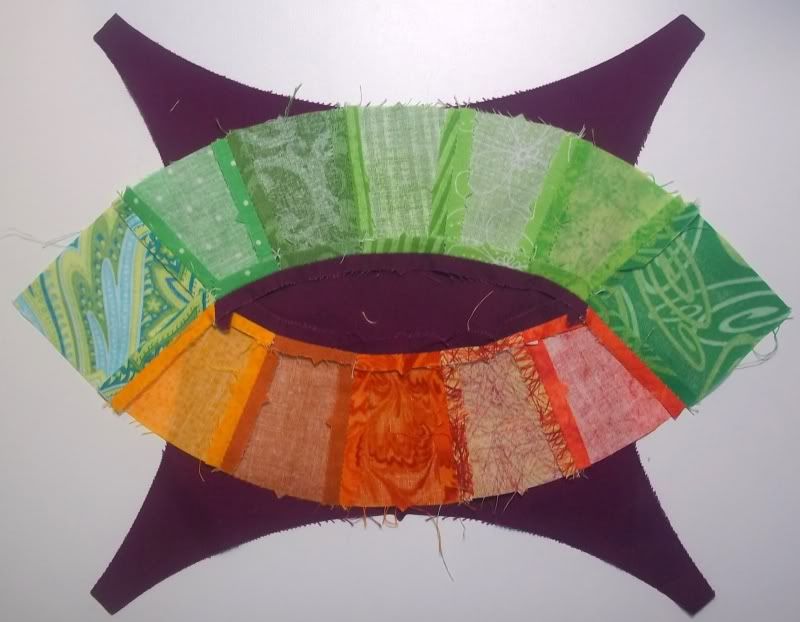
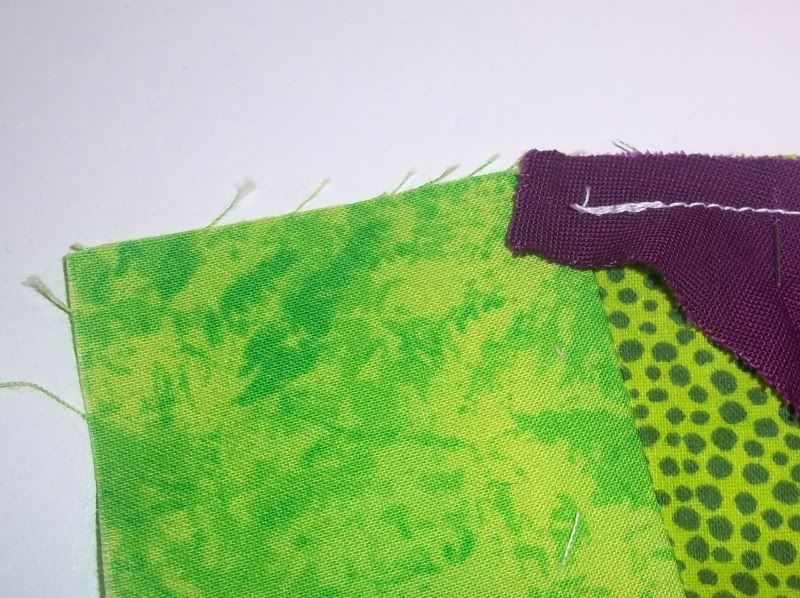
Notice that the melon almost extends to the other side... I cannot tell you if other DWR templates/paper-piecing options do the same. It's entirely possible. Pin the midline and line up the top two 'ears' of the center with the seam of the green arc WITHOUT the 'corner' patches that complete the football. Pin those, align your edges, then pin the rest, again easing the fullness.
Sew your seam. This seam I start and stop with some backstitching. Again, I tend to run right over the pins, unless my needle threatens to bend or break them. Unpin before moving on. Your seam at the 'ear' should look something like:
Repeat the above steps for attaching a completed melon to the opposite side.You should end up with something resembling an apple core shape. I press at this point, because I like things flat. It's probably not necessary to, but I can't swear to it. I will point out that I do not bother pressing open at this point.

One you've got your apple core, find the vertical mid-line of the apple core laying on it's side, as shown above. Match up this center with another completed melon:
Pin that mid-line and then match your ends. Pins those and then line up fabric edges, ease fullness and pin the snot out of these two pieces. Now, when you do this, you want to locate the tip of each 'ear' and give them a little tug so that it's not folded over on itself and the 1/4" seam is where it belongs.
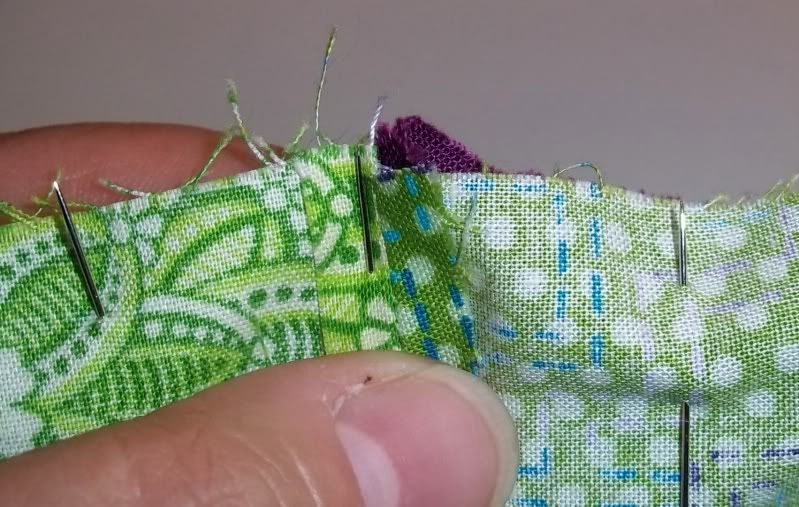
Sew your 1/4" seam. You'll have to be careful that the center fabric doesn't fold in on itself and insinuate itself between pins. Otherwise, you'll have to go back and rip those stitches out, to free the center. Repeat these last couple of steps with the other side. You should end up with a near circle:

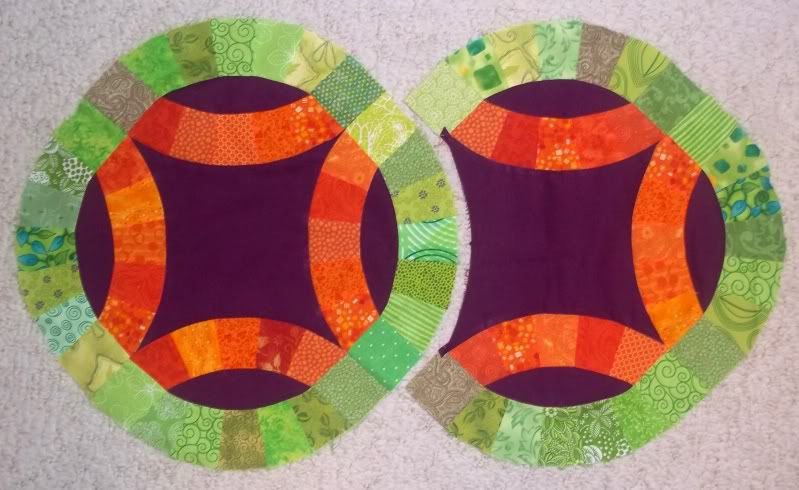
That's it! You've completed your first Double Wedding Ring! Now all you have to do is make enough 3/4 DWR to add on to make a complete row:
When I have enough 3/4 DWR to do a couple of rows, I'll you how to stitch the full DWR to the 3/4 DWR to complete rows. From there, I'll show you how to put the rows together.
5 comments:
Thanks for all the effort. It's a nice tutorial and I have bookmarked it for when the time is right.
This is looking great! I have a DWR on my "one day" list. Hopefully, I can still find this tutorial when "one day" gets here. LOL
Looking good! I have everything to start mine....now I just need time!
Thanks for the tutorial! I've got half my arcs made and I will be heading back here when I'm ready to put everything together!
I liked your blog thanks for sharing this.
Post a Comment
Questions? Comments? Random fact? Put it here!