Check out Sandi's post here. Sandi's already covered (thankfully!) copyright and gridded blocks. I'll be covering non-gridded blocks and uneven blocks, and how to draft those.
But first, a few words about being able to draft your own blocks and quilts. I love the freedom that having this skill gives me. I'm far more free to analyze a design and decide just what it is about the design that I love, and what it is about the design that doesn't resonate with me. I'm then able to change those things that don't speak me.
Also, I'm able to simply look at a block now, and know how it's constructed, and determine the best method for putting it together. It's been invaluable just doing the Farmer's Wife blocks - a good portion of those blocks are fully rotary cutter friendly and I don't even have to draw them out at all!
Yes, I do have EQ7 now, and the process of a designing a quilt top is made far easier with that program. However, I can honestly say that if I didn't have a firm grounding in the basics of how quilt blocks are broken down, I would never be able to use the program to its potential. I often, unless I know the block name right away, don't even bother to look up blocks in the program's library. I just draw them in.
That said, let's get to work!
UNEVEN BLOCKS
Uneven blocks often look harder than they really are. These are the oddball blocks whose components spill over the grid lines.
Storm at Sea is an excellent example:
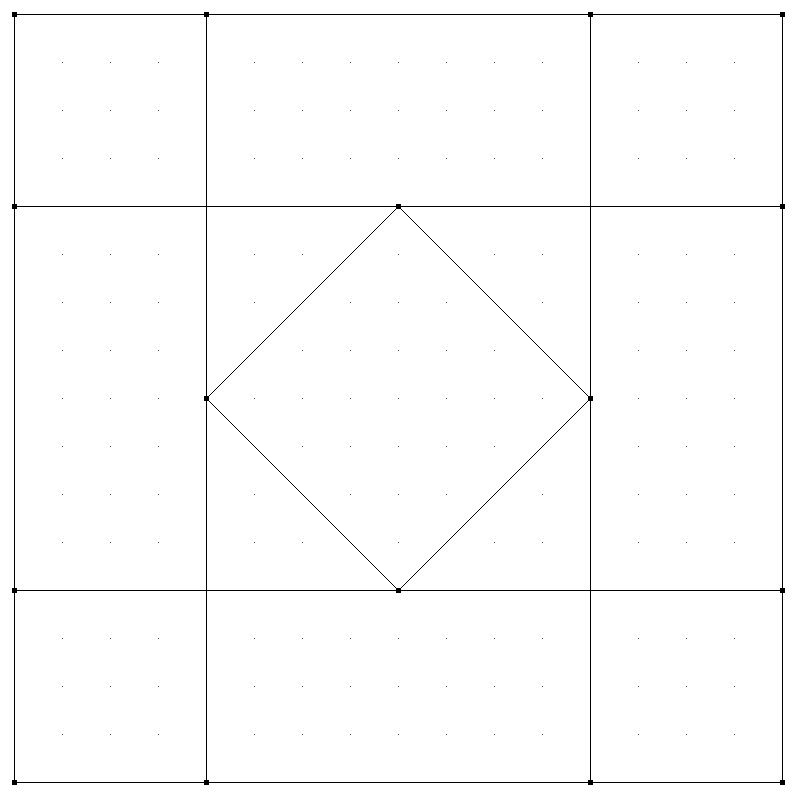
But wait! Take a closer look! This block is perfectly symmetrical. It mirrors itself from left to right, from top to bottom, and from corner to corner. That makes this so much easier to figure out! You know what your center lines are, and now know that it will work best in multiples of four. The magenta diamond in the middle is actually a square on point, so no working with odd angles. Look closer yet, and you can make out four of the major seams.
Now that you know those things about this block, you can derive the following image:
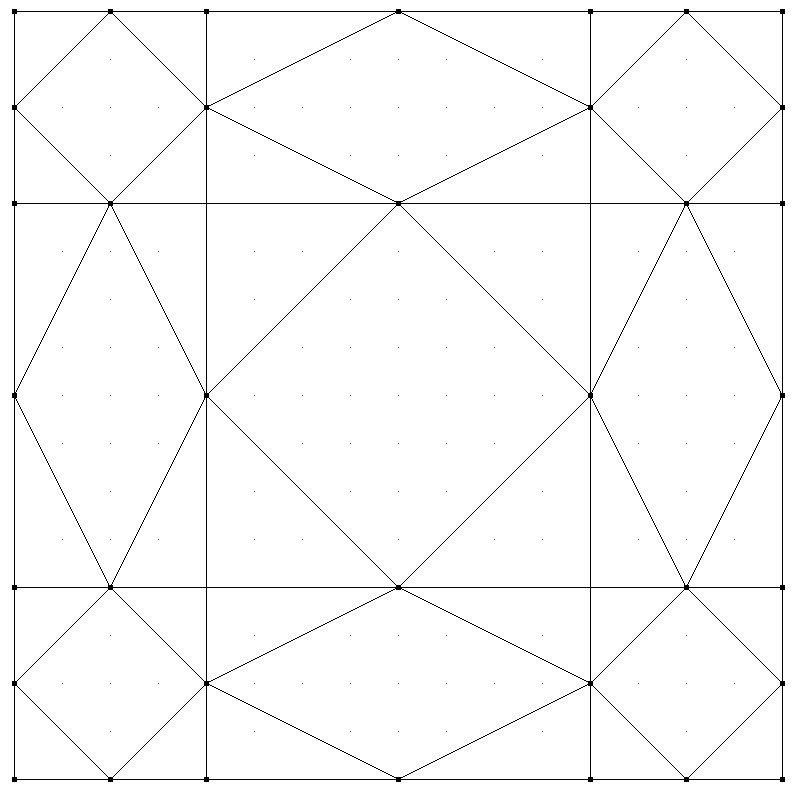
You can already see the Storm at Sea block emerging, can't you? This block practically does the rest of the drafting for you, as every nearly every shape shares a point:
We're nearly there! However, how do we determine the corner points for the last four squares? That's easy! Remember, this block is symmetrical on the diagonal:
That's right. We're cheating. Sort of. Those red lines (which will disappear in the next step) show you at least two of the corner points for each square. And since they're squares, which means that each side is the same length, it's as good as having all four corner points!
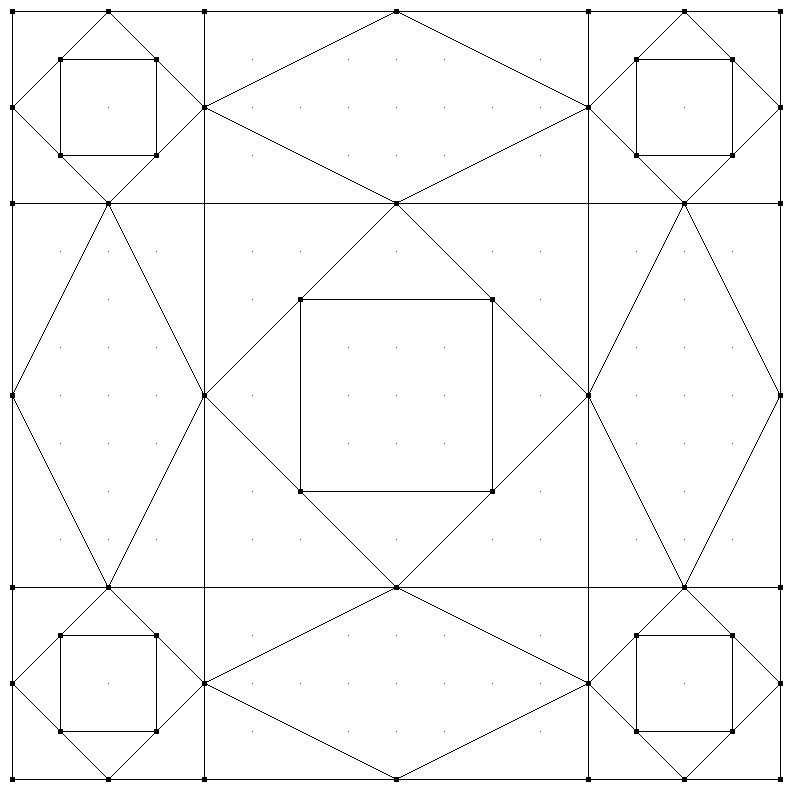
You've just drawn Storm at Sea! Barring coloring, you're ready to go! All you have to do is decide what multiple of four you want this block to finish at, and add your seam allowances. From there, it's all about coloring.
But first, stop let's figure out components. Storm at Sea can break down into nine sub-units:
See that? 60° diamonds in rectangles and squares in squares in squares. Check out Sandi's Diamond in a Square tutorial and my tutorial on the 54-40 or Fight Block.
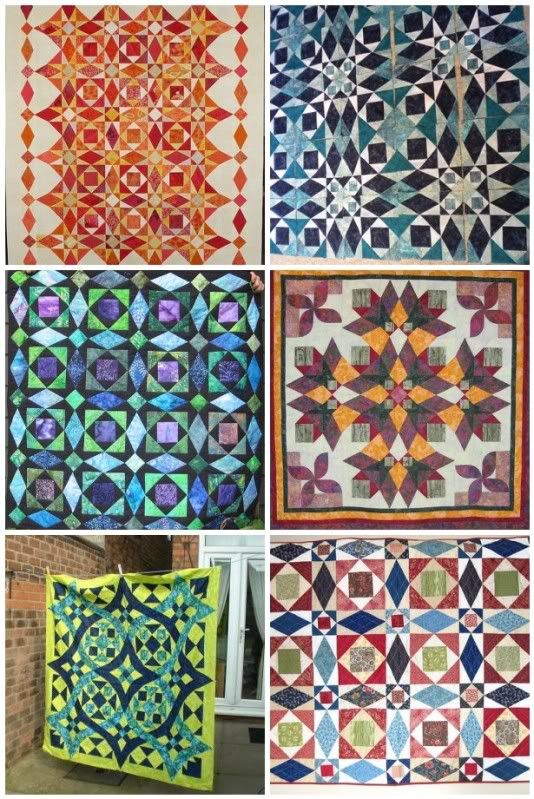
Not nearly as hard as it looked in the beginning, right? Storm at Sea is one of those blocks that makes an amazing secondary pattern when used to make an entire quilt top, based entirely on how you color it. Some of my favorite examples are:
NON GRID BLOCKS
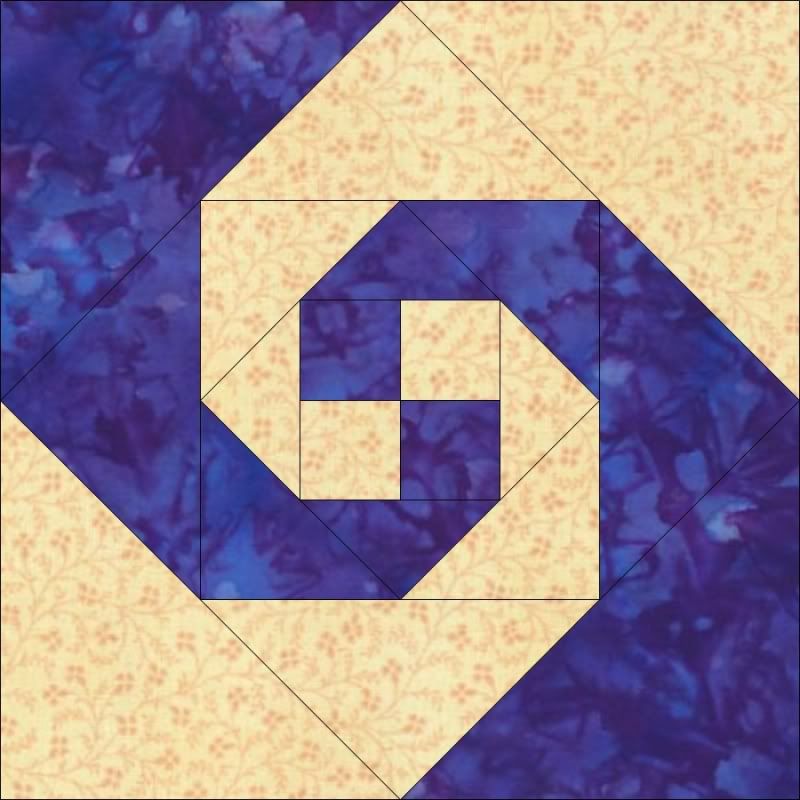
So, now what about blocks that don't have a grid at all? How about Snail Trail?
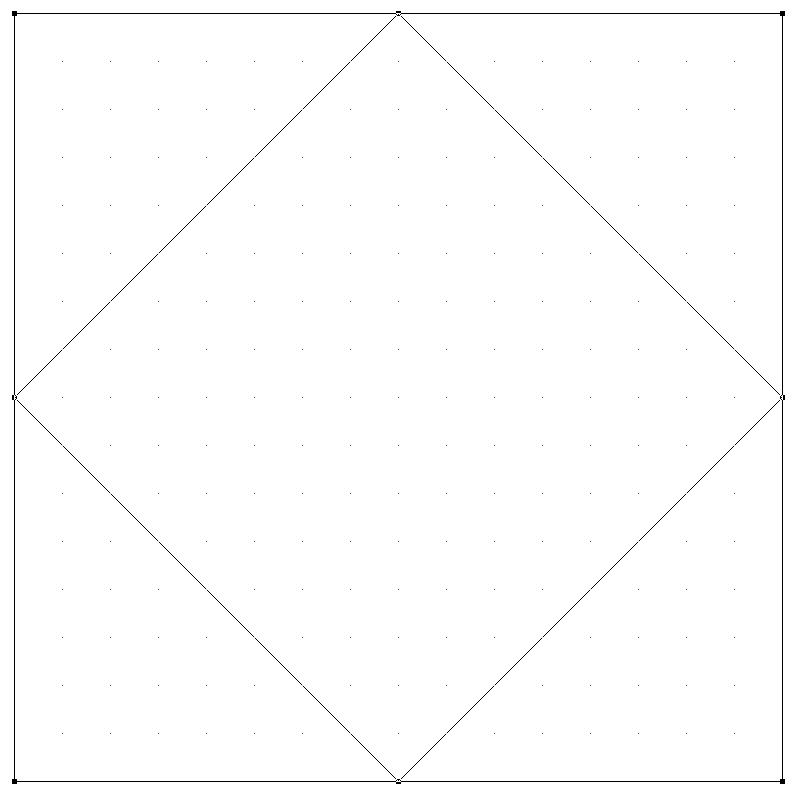
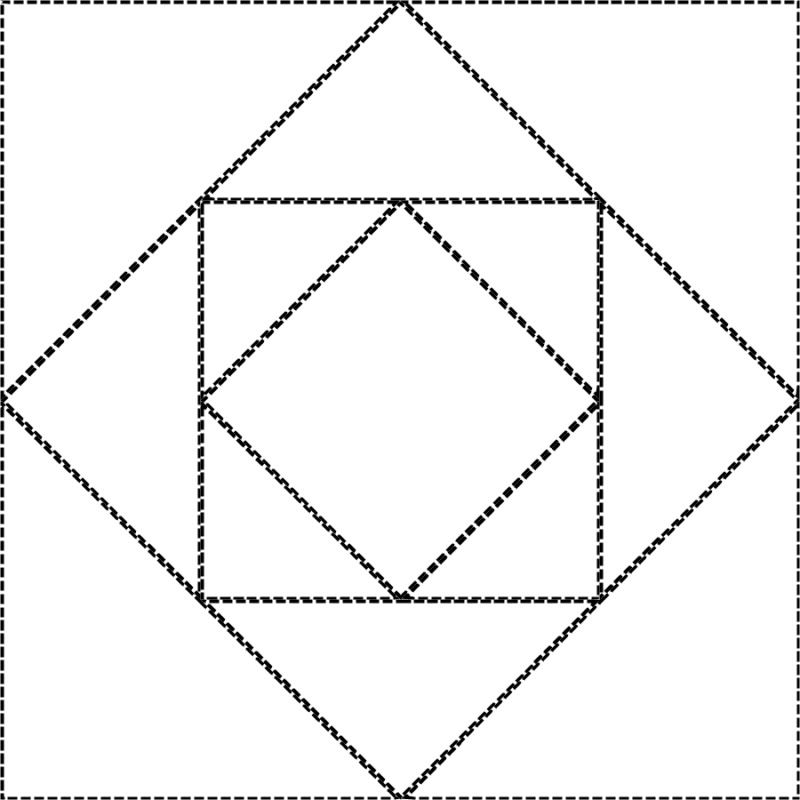
On one hand, hey, we know this essentially breaks down into a square in a square. On the other hand, we don't really know what size to make anything. Guess what? Make it whatever size you want! Just start off by breaking it into its largest square in a square:
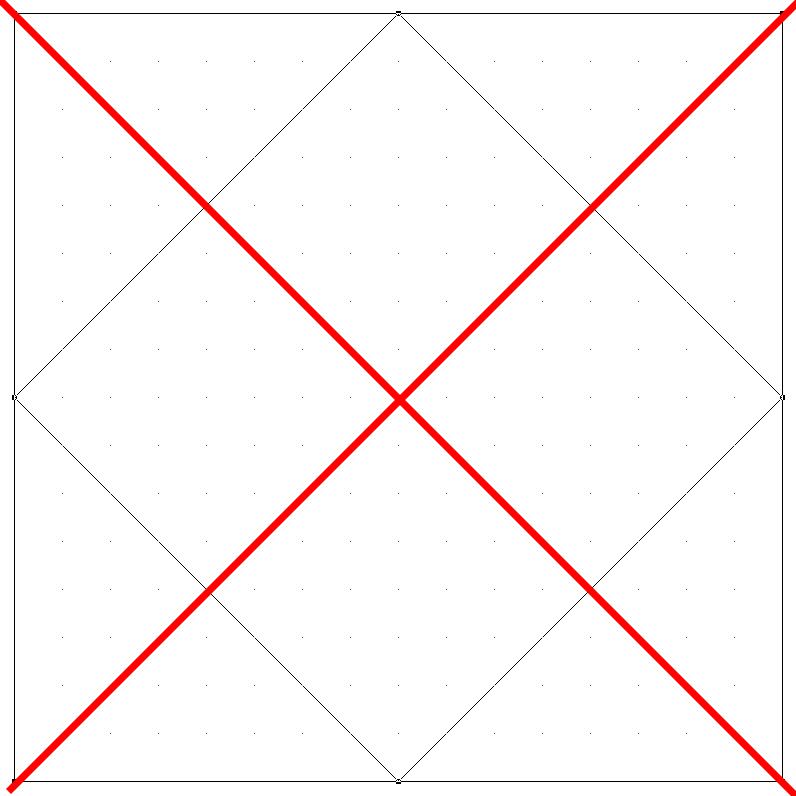
We'll 'cheat' one more time to find the corner points of the next inner square:
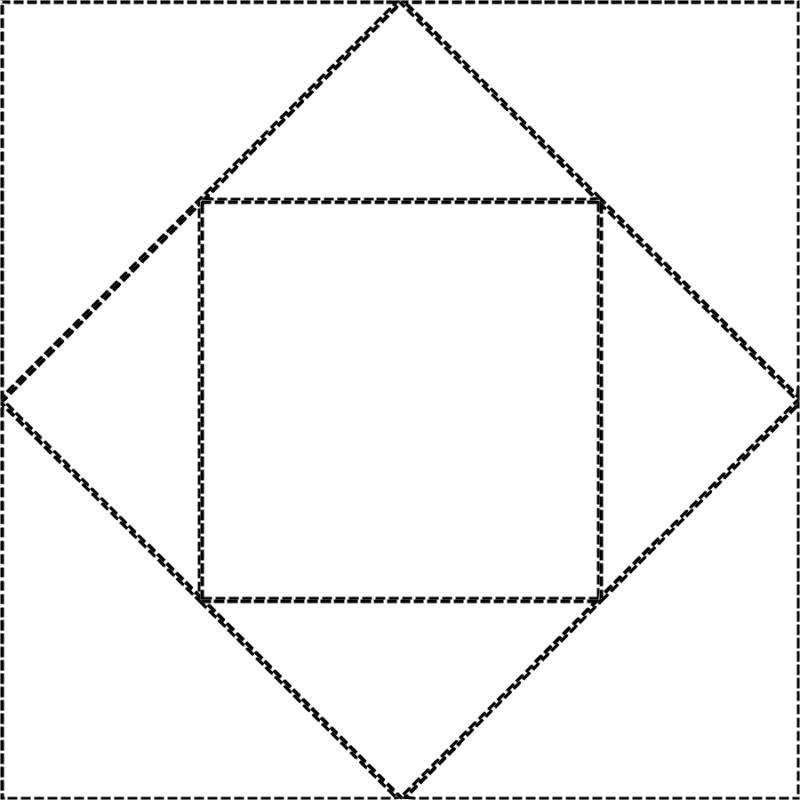
And that gives us:
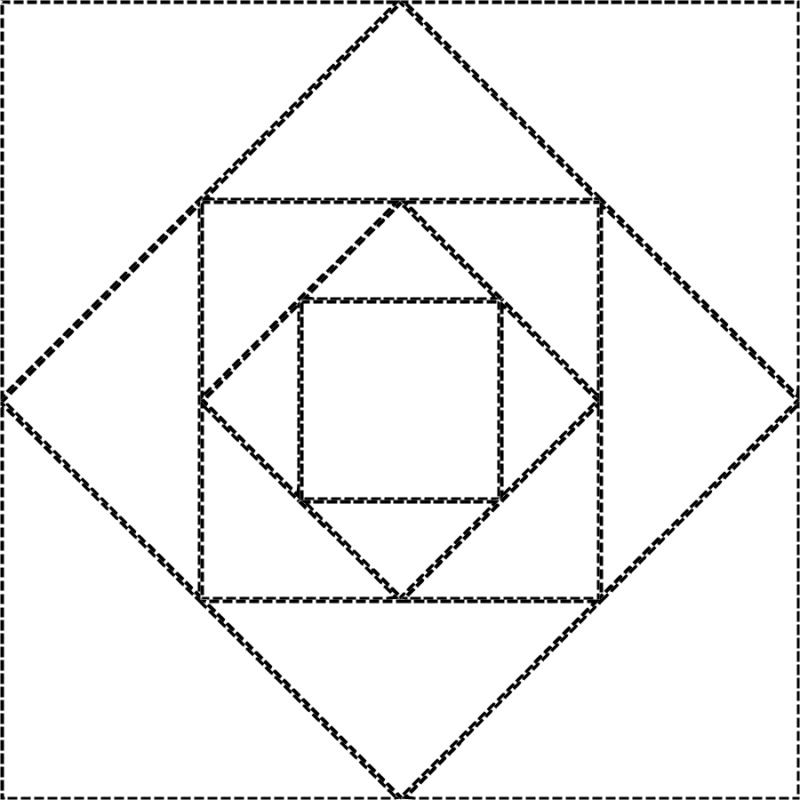
And now we need another square in that:
And another one!
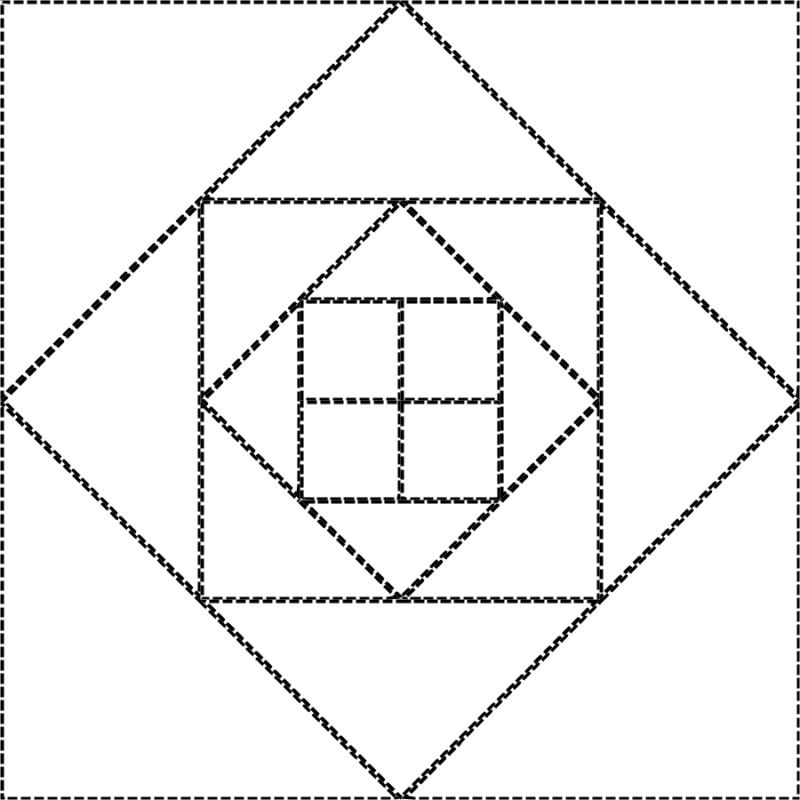
And now we have a four patch in the middle:
As we've run through this block, working our way from the outside in, did any of you notice that this block is actually completely symmetrical? No, really. Look at the last line drawing again! Once again, that means this block would work great in finished sizes that are multiples of four, though any size would work. The perceived complexity of this block is all in how it's colored.
DRAFTING QUILT TOPS
Before I get into this next segment (which is turning out to be very short), let me just say that I haven't actually drafted an entire quilt top in ages. I'm on a sampler kick, have a design wall up, and haven't made anything that involves creating secondary patterns in a long time. Those full tops that have incorporated a design have been built on traditional designs, and I was able to visualize their final appearance before I even cut into my fabric.
Drafting an entire quilt top can often be a compromise between artistic vision, available fabric, and intended purpose, especially if the quilt is destined for use on a bed. Mattresses come in many sizes, and some of the more common are listed below:
Twin Size: 39" X 75"
Twin Size Long/Twin XL: 39" X 80" (This is good one to know - it's the most common size of dorm room mattresses)
Full Size: 54" X 75"
Three Quarter: 48" X 75"
Queen Size: 60" X 80"
King Size: 76" X 80"
California King: 72" X 84"
Making for a queen-sized quilt seems like an enormous task already, at 60" X 80", doesn't it? But just remember, 60" X 80" only covers the top of the mattress, and doesn't over hang the edges at all. Throw that in and you could be adding 24" or more to your width, and another 12" or more to your length.
This all becomes even more complicated when you consider settings.Should your blocks be on point? Sashing or no sashing? How many borders? Pieced borders or just strips of fabric?
Methods of drafting quilt tops can be varied. Some folks draw a quick sketch out. Others sit down with a graph paper and draw the whole thing out to scale with colored pencils. Others utilize a computer program.Use whatever method works for you. Personally, I prefer to have a computer program, because I can play with all the settings without having to stop and re-draw the thing on paper multiple times. That, and I have a toddler who insists all multi-colored media and paper belong to him. 'Nuff said, right?
Having drafting skills means that you'll be able to determine how much yardage you'll need. You can plan just how your secondary and primary patterns will emerge, particularly if you're using two blocks next to each other without sashing. And really, this is where your knowledge of color, value and scale will serve you better than the ability to draft. Once you've mastered drafting blocks, it's a quick hop over to doing the whole quilt top.




0 comments:
Post a Comment
Questions? Comments? Random fact? Put it here!