
I love flying geese. Love, love, love them. So much so that I've made two quilts and one top:

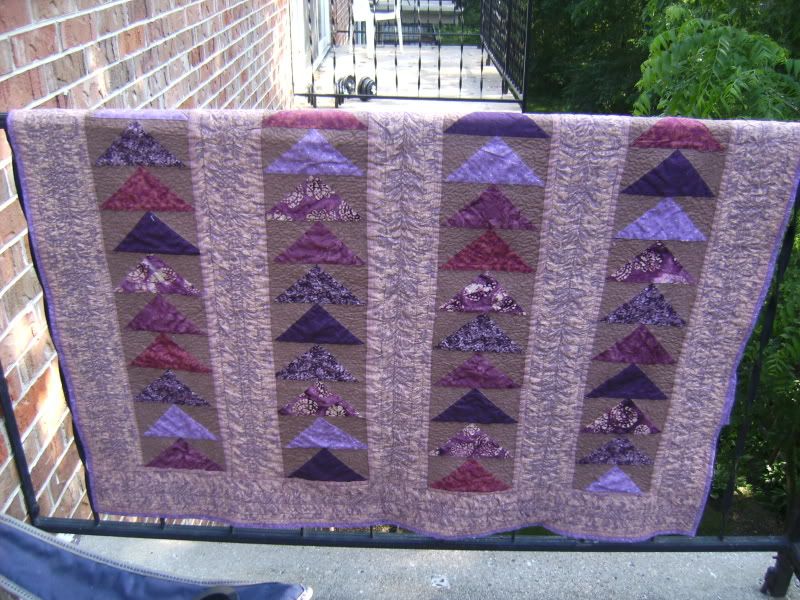

Is there an end in sight? Probably not. They're just so much fun!
And so much more fun now that I know how to make FOUR flying geese from nothing but squares... No, I'm really not kidding! Read on...
In general, the accepted proportions for flying geese is that the width is twice the height. Since we want to end up with a Flying Dutchman Block that is 12" x 12", our flying geese need to finish at 3" by 6". Now that you know how large your flying geese need to be, you can get started with this super simple method.
All you have to do is take the finished width of your geese (6") and add 1 1/4" to it. That's your starting square size: 7 1/4". Now, I like to trim down, so I actually made my starting squares a quarter inch bigger, rounding up to 7 1/2". For your sky triangles, the finished height of your geese is 3". If you remember the magic number for Half Square Triangles (because that's what the sky pieces are) you already know we need to add 7/8" to get the size you need to cut your sky squares to. Again, I trim down, so instead of 3 7/8", I cut mine at 4".
1.) Now, to make a Flying Dutchman, you need a total of eight flying geese. This means you need two squares at 7 1/2" and eight squares at 4".

2.) This next step you can just ignore... I like to do it, because I'm anal retentive. Just draw two lines on the 7 1/2" squares, from corner to corner, making an 'X'.

3.) Take your 4" squares, and draw one line from corner to corner, bisecting the square. That's your cut line.

4.) Now all the lines are drawn, take a big square and two little ones and pin them together like so:

5.) See a quarter inch seam on either side of the center line - I know it's kind of hard to see. Sorry! It didn't occur to me until after I was underway that I should have switched to black thread.

6.) All right. You've got two seams sewn in. Cut down the middle, following that center line that you just sewed alongside. I thought I took a photo of that, but clearly, I'm insane. Anyway, once it's cut, and you have two triangles, it's time to break out the iron.
7.) Press that sub-unit open, and you should have something that looks like a heart. Actually, you'll have two of them. Apply all of the following steps to both hearts.

8.) And don't worry! We're still on the right track. Take another 4" square and pin it to the sub-unit:
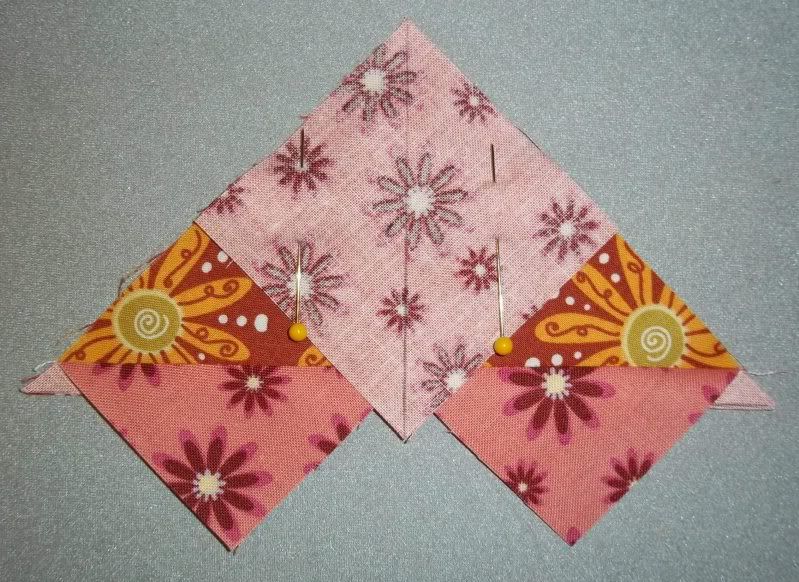
9.) Again, sew a quarter inch seam along either side of your drawn line:
10.) Now, cut in half (Yes, I know... a little late to actually have the post cutting pic):

Rinse and repeat all the steps for your second set of squares, and ta-daa!!

Eight perfect flying geese. Trim down to 3.5" by 6.5". then you're all set to make your Flying Dutchman block:

Don't you want to make tons and tons of flying geese now? It's SO easy this way.


