Showing posts with label tutorial. Show all posts

Saturday, October 29, 2011

Skill Builder Series - Leaders, Enders and Strings

Waaay back in May, I wrote a small post on leaders and enders as part of the Skill Builders Series. In a recent post, Weekend Recap, I mentioned that I'd done my string blocks as leaders and enders and I received a comment from Lynne asking:
I am new to the concept of leaders/enders; I haven't used them and don't chain piece (yet). Could you please explain how you use the string blocks as your leader/ender project for this novice (who is always keen to learn something new)? 
I thought about replying in an email to her, but then realized that it was clearly time for another tutorial, because of all the photos I would be taking anyway. So, Lynne, here is the tutorial I promised all that time ago. I'm just sorry it took me this long to find time to sit down and write this! And, I'm sorry that the photos are dark. Now that I'm working two jobs, most of my sewing time is stolen from those hours that I should be sleeping!

Let me preface the tutorial itself by saying that I typically use string blocks as the no-thinking portion of my sewing and to keep the machine running whenever I'm working on a block or series of blocks that require me to stop and start. When I took the photos for this tutorial, I was working on blocks for the Test Your Skills Sampler (which I have to photograph and catch up on, bad me!). This means that I have the pieces pre-cut for whatever my primary project is. Pre-cutting is the only that I've been able to maximize my time at the sewing machine lately, so this means that I have tons of time for string blocks too.

So, in addition to having my primary piecing ready to go, I have my components for the string blocks ready to go:
Because of the sheer number of string blocks that I'll need to complete a top, I simply bought a pad of lined notebook paper at my local office supply store while it was on sale for the start of the school year. At the same time, I went to the printing department there and had them cut the paper into 7" squares for me. They can do up to 250 sheets as once, which totally beats my one at a time. I know 7" seems like a weird size. I actually end up trimming the blocks down to 6 1/2", for a finished size of 6". There's a little more waste this way, but this way I'm certain that I have enough seam allowance.

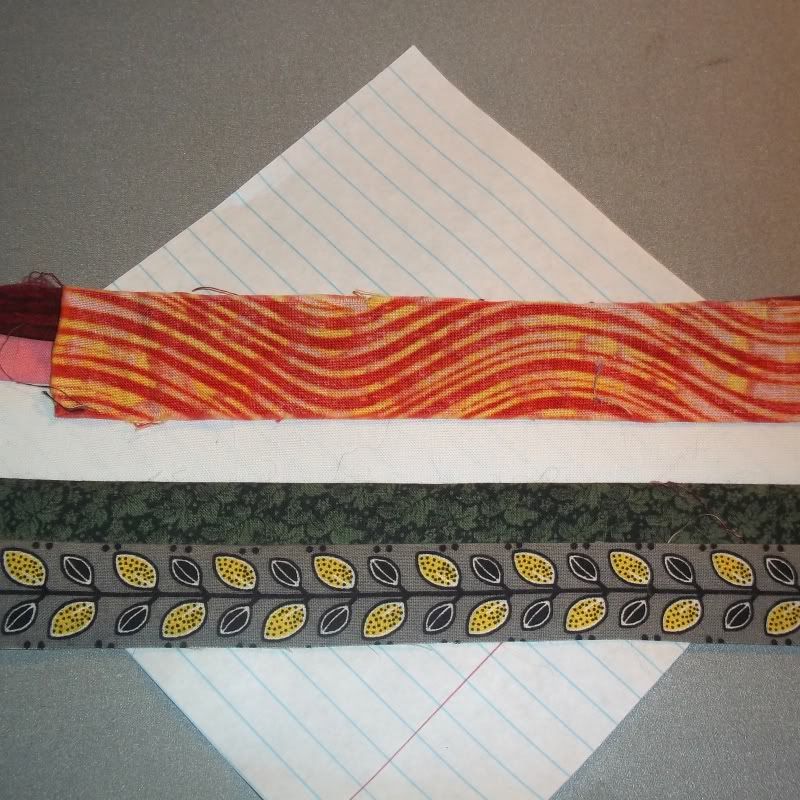
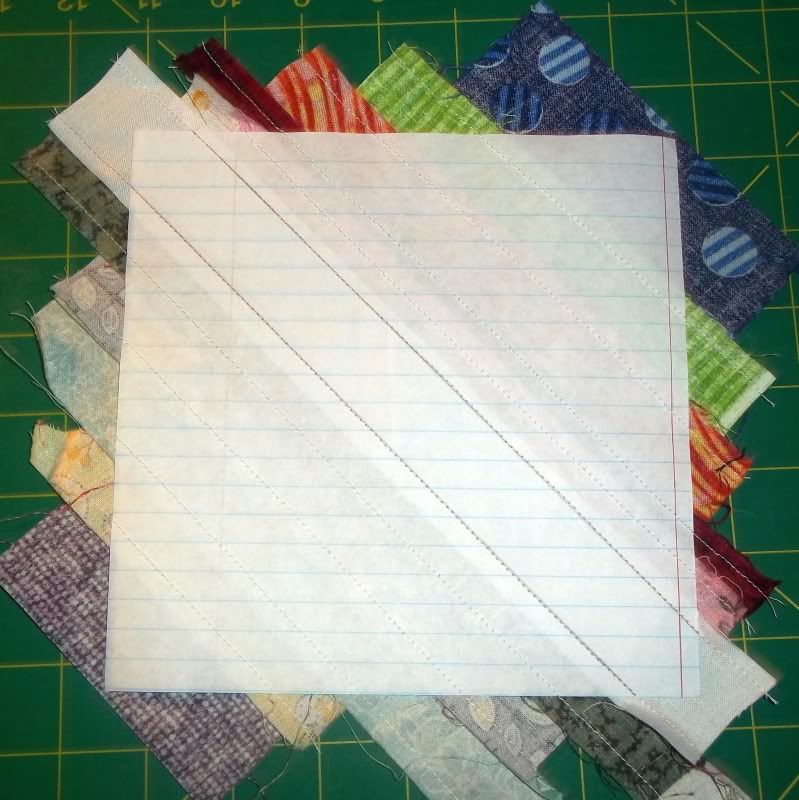
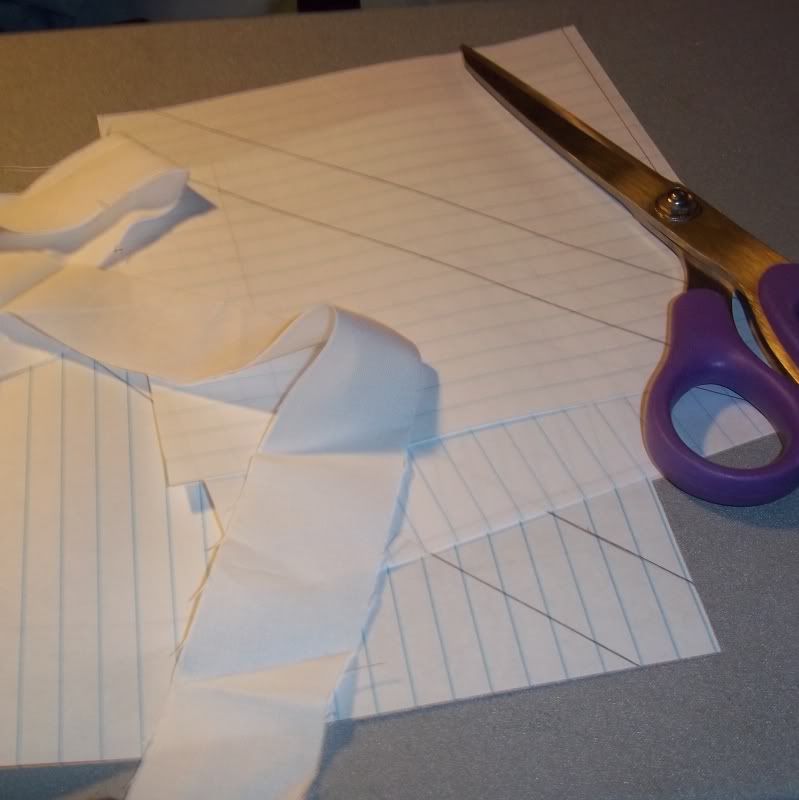
As you can see from the photo above, I've drawn my initial sewing lines on to each sheet. That middle portion of each block is a 1" finished wide stripe of Kona White, to give the top some continuity (whenever it actually becomes a top). I pre-cut my strips of Kona to 1 1/2". I really should remember, next time, to cut them at 1 3/4", so that I don't have to be quite so precise when placing the fabric for these first two seams.


Some time ago, I reduced a bunch of my scraps to strips of various widths. I knew that I wanted to make a string quilt, but I didn't want every seam to match up. I wanted some variety, especially since I knew that my scraps wouldn't all provide the necessary width to produce, say, 1" strips. Some of my pre-cut strips start at 3/4", so that the finished size is only 1/4". Very little was too thin for this project. My favorite part about having all of these strips pre-cut is that I literally just threw them into a box. I blindly reach into the box, check to make sure the strip is long enough and sew it on if it's long enough. Randomness is not a problem with this 'organization'.

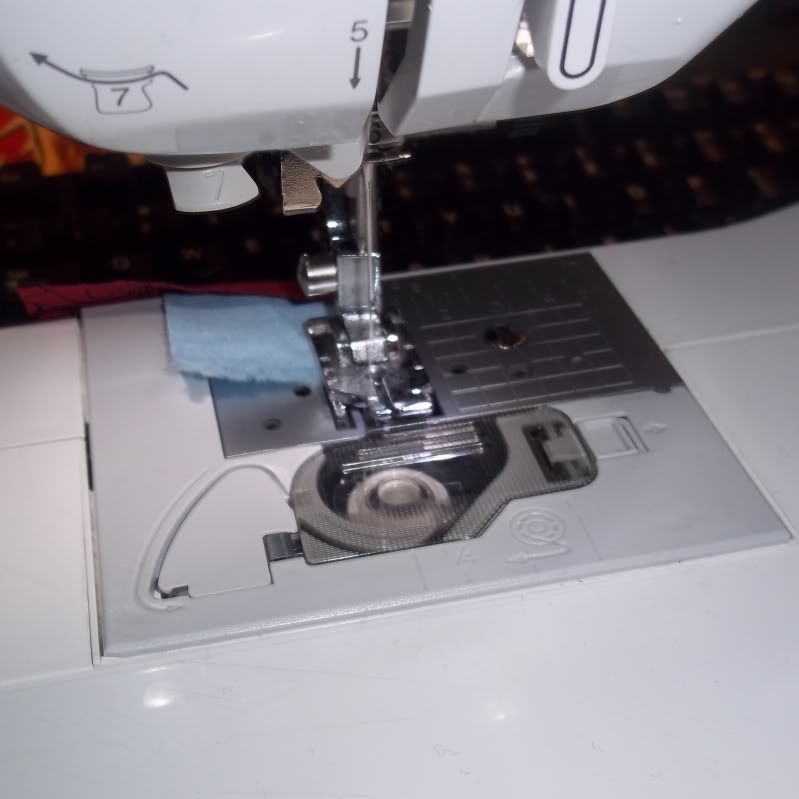
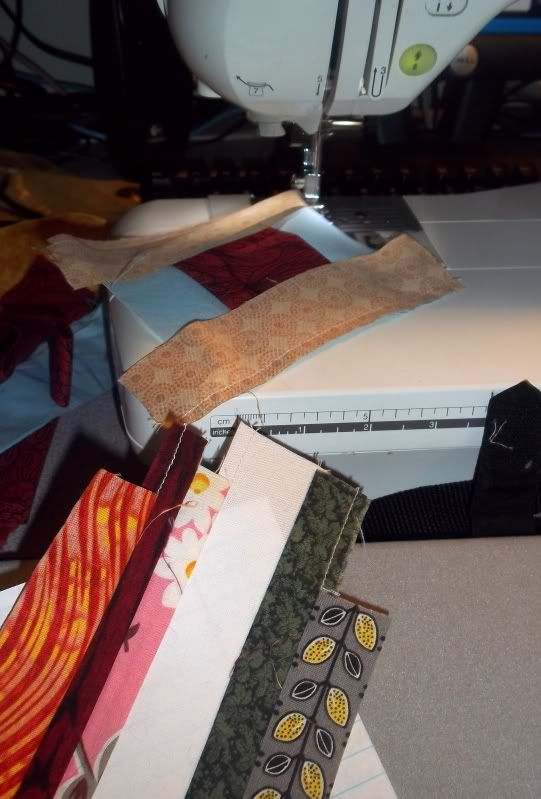
I had a caboose left in the machine from the sewing session previous to this one, so I started working on my primary project, which was the Test Your Skills Sampler Log Cabin Block:
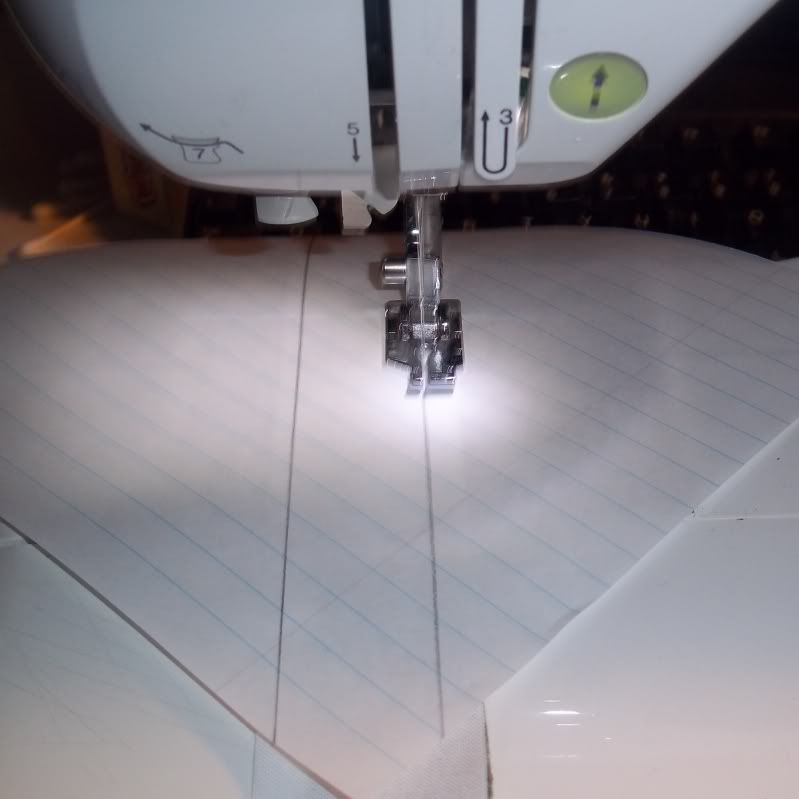
Upon finishing that line of stitches, I lined up my white strip and sewed the first seam, right along one of those marked lines. Slight blurry photo below... Sorry!

You can just barely see the edge of the green strip blow the white one in the foreground of this photo. Right sides of the fabric should face each other, and the wrong side of the center strip will be flush against the paper. Oh, and speaking of the paper... I use the notebook paper for projects like this because it's cheap. I'm not going to waste the Carol Doak stuff on blocks that are this simple.
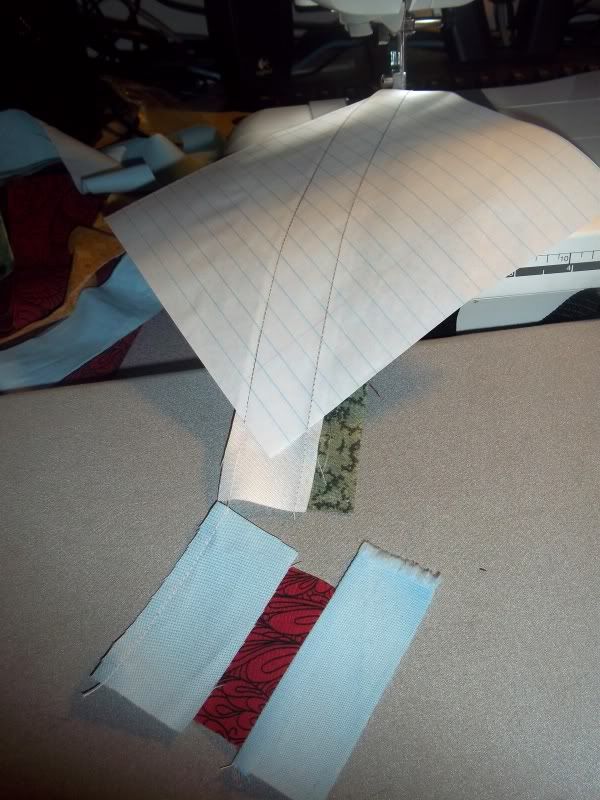
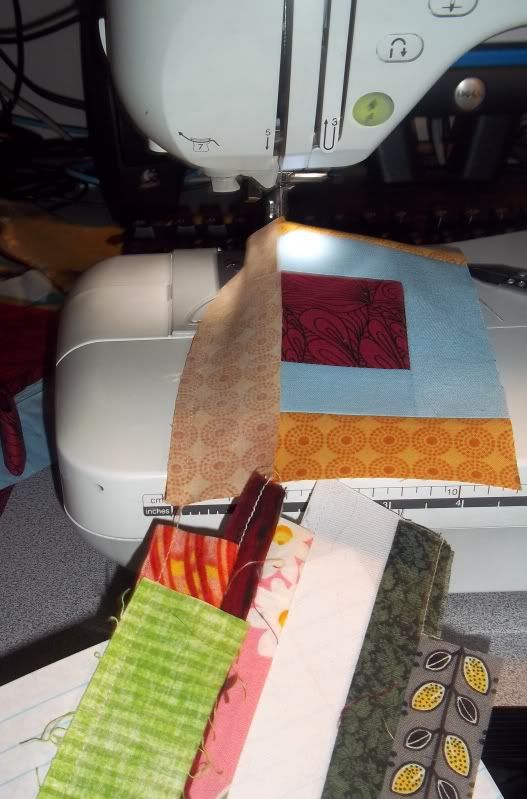
Once I had that first seam sewn on the string block, I continued with my primary piecing. In the photo below, I turned over the string block so you could see the way the two strips were laid on the paper. Not that it's especially descriptive, now that I look at it...
More alternating... Are you all getting the idea that this leader/ender thing is really good about cutting back on the waste thread that results from having to stop and start every time we rotate or add on to a block?  This time, I sewed sewed down along the second drawn stitching line. Again, right sides of the fabric should face each other, and the wrong side of the center strip will be flush against the paper. And, yes, I did twist the blocks around to the front of the machine to get a good photo. The night I was working on this, I did everything on my computer desk, so directly behind the sewing machine (Bessie), is my computer monitor and keyboard. Stolen moments!
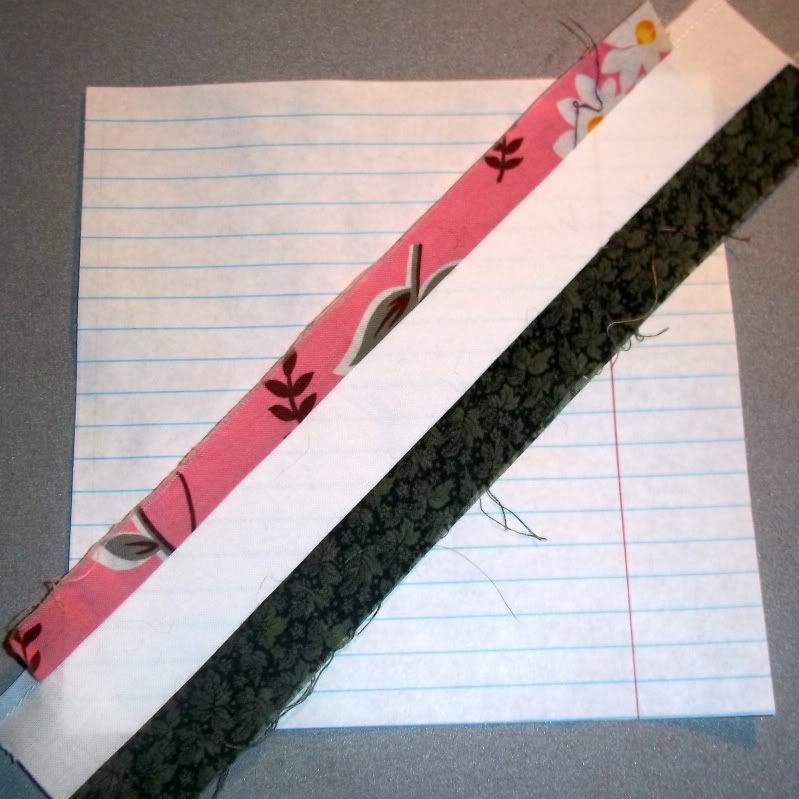
I sewed a little more on the primary project, and clipped my string block off the chain in order to iron down the strips. I always iron before adding on to the block, so that I know that I won't have any puffiness in the block, and thus preventing any pleating to take in any extra. I know they're scrap blocks, but I can't help myself.

As you can see, there's extra fabric running over the sides of the paper. Again, I trim down at the end of the process.
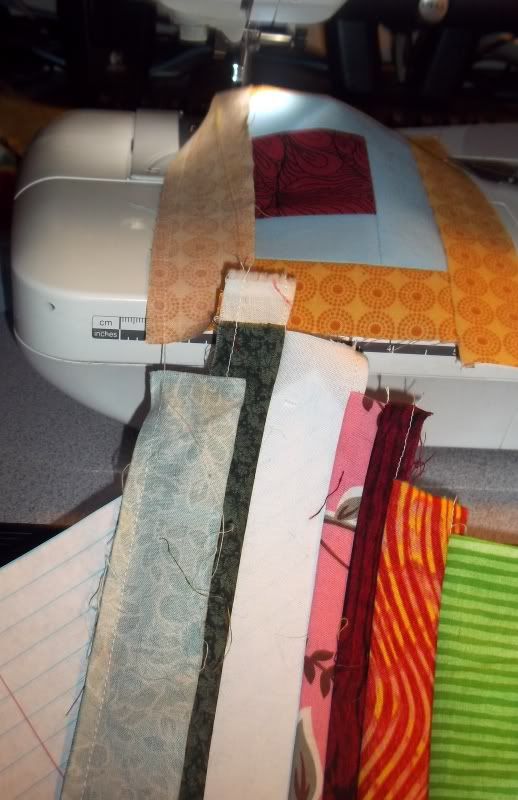
So I pick another strip, and sew it down, followed by work on the primary project. At this point in the primary project, I'd finished the center of the log cabin block and was starting to add the first non-background fabric round.
So, I kept going, alternating string block with log cabin block, always checking the next potential strip to be the right length. If it was too long, I just cut off the part that was too long and threw that bit back into the box of scrappy strips.
...and the Log Cabin and string block just keep growing...
...and growing...
...and growing...
At this point, I'm sure you get the idea. I'll save you from more progress photos that are essentially the same. In the end, I had a Log Cabin block, in which I took some artistic liberty and didn't make all of the non-background rounds from the same fabric.
I also had a couple string blocks like this:
I always trim these from the back, so that I can be sure that the white strip in the center of the block is centered. Again, these are cut down to 6.5" for a finished size of 6". They should come out looking something like:
Obviously, you can make these string blocks whatever size you like. You may also use fabric as your foundation. I prefer the paper, so that I can tear it away and reduce the bulk, because I do plan on using batting in this project when I reach the quilting stage. By using paper, I am limited by paper sizes, especially since I don't like using standard copy or printing paper. It's thicker and doesn't tear away as easily.

And that's string blocks, used as leader/ender projects. Don't you just love how quickly and easily these can come together?

Tuesday, June 14, 2011

PM/GC Skill Builders Series - Fifty-Four Forty or Fight

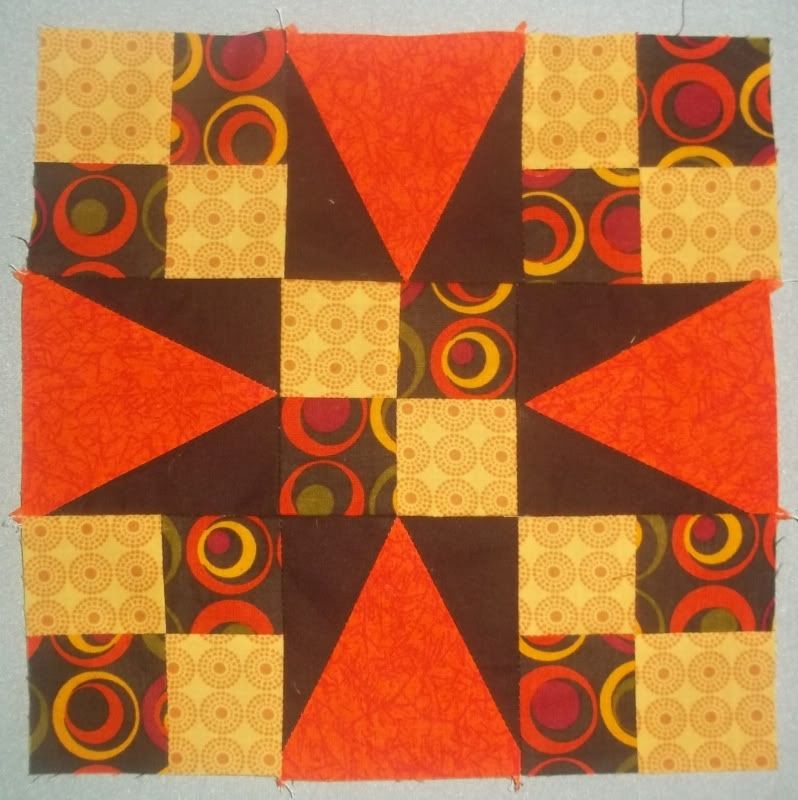
Fifty-Four Forty or Fight was one of the first blocks I ever pieced... I made a small doll-sized quilt out of scraps, alternating 54-40 with another block, Variable Star:


Together, they made an interesting secondary pattern when one stepped back and looked at the overall quilt top. I was very pleased with the efforts of my second quilt. Sadly, I have no photos of this early effort of mine...


Anyway, let's move on from the personal history lesson and go to a small history lesson. 54-40 or Fight actually takes its name from the conflict over the border between what is now Canada and the United States in the Oregon Territory. "Fifty-four Forty or Fight!" was actually a political slogan of the time. 
                                                                                                                                                                   
Of course, now you're all wondering just how we're supposed to piece this lovely block? Well, a fair bit of this block is all strip piecing because five of the nine sub-units are four patches. The other four are 60° triangles in squares. We've already covered strip-piecing here, so you'll see some repetition here. New to us are the 60° triangles. 


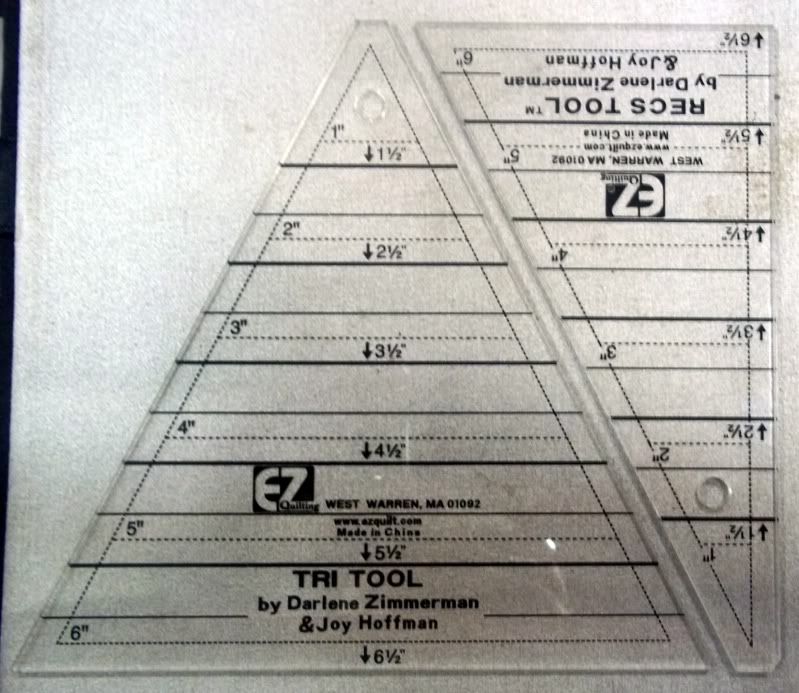
There's three ways of doing the 60° triangles: templates, paper-piecing, or specialty rulers. www.quilterscache.com provides excellent instructions for preparing templates for the shapes needed here, so I won't repeat them. We're covering paper-piecing in a later tutorial. However, I don't feel that it's necessary to go though the effort of creating paper-piecing templates for such a basic shape. This is probably the one and only time I'll tell you that specialty rulers are probably the way to go. In particular, the Tri-Recs Tools rulers. You get rulers to make 60° triangles in squares up to 6" finished. They're also only $9.99 regularly, so they're quite cheap for specialty rulers. I bought mine when quilting notions went 50% off at Joann's.


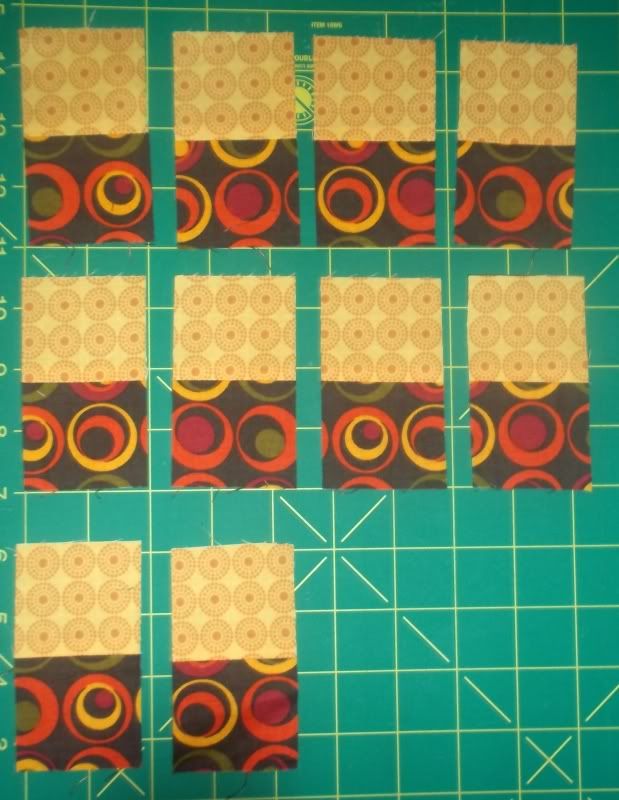
Let's start off with our four patch units. Our final block will be 9" finished, so each subunit will finish at 3". That means that the strips of Fabrics A and B should each be 2" wide and 20" long. Sew together, press seams as desired, and slice into ten 2" segments. Sew into the required four patch subunits, making sure that your colors are alternating correctly, and press as desired once again. Set these subunits aside for the moment. I failed to take photos of each step of the strip/chain piecing portion of this. My apologies.

Now we're going to tackle the 60° triangles in squares. They're not as scary as they look, especially with a good ruler in hand! There is some bias piecing, but you can assert some control here by pinning, but I'm getting ahead of myself. 

As stated before, each subunit will finish at 3". You'll need one 3 1/2" by 12" strip of Fabric B and one 3 1/2" by 12" strip of Fabric C - and that's leaving extra fabric. I've used four different fabrics in this block for this tutorial - you can do the same or use just the traditional three.
Take your 3 1/2" by 12" strip of Fabric B, and this is where you'll begin seeing how nice these rulers are... Your finished subunit needs to be 3", which is why both strips are 3 1/2". So, all you have to do is line up your ruler on the 3 1/2" line and start cutting, flipping the ruler 180° to maximize your strip. You need four of the above shape.
Repeat the process with your Fabric C and the other ruler. You need eight of this shape. If you're using a print for this shape, you'd have to flip the ruler over to create reverse image pieces, then you'd need four of each side. Pay careful attention that you trim that little angle at the narrow tip of the triangle indicated by the ruler. You'll see why in just a moment.
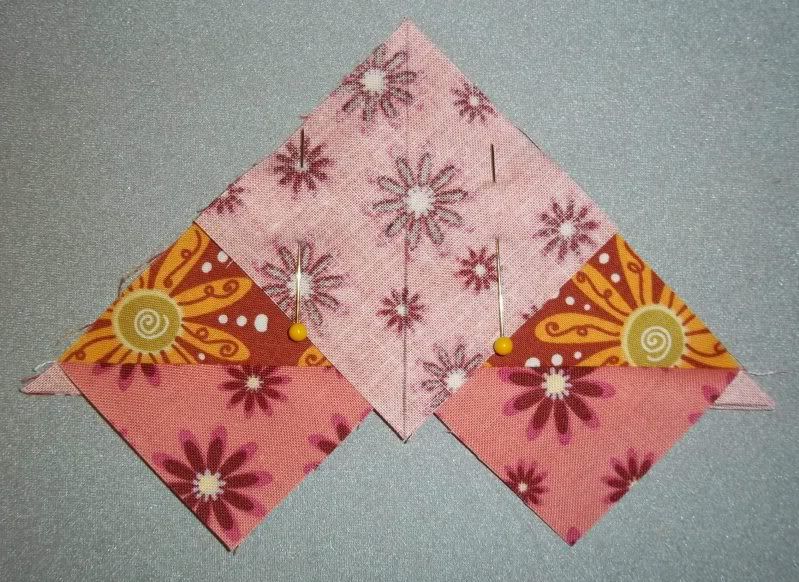
Now, go ahead and line your first piece up as shown in the photo above and to the right. That little angle I told you to make sure to trim? That shows you exactly where the two pieces should line up together. The rulers have the 1/4" seams built into them, so all you have to do is follow your sewing foot or other marker. Pin if you like, but I didn't. Now, sew your first 'wing' on, press as desired, and sew on the next wing. Again, press as desired. Repeat for the other three 60° triangles in squares subunits.
Line up your pieces as pictured above - I like to do this because I will *so* put something on backwards or turned the wrong way around. Chain piece and press as desired and end up with:
One more block for our ongoing series! I've been doing them all in a coordinated scrappy look. Here's what I have so far:

Tuesday, May 31, 2011

PM/GC Skill Builders Series Part 8B - Flying Geese

6Check out Sandi's post on flying geese here.

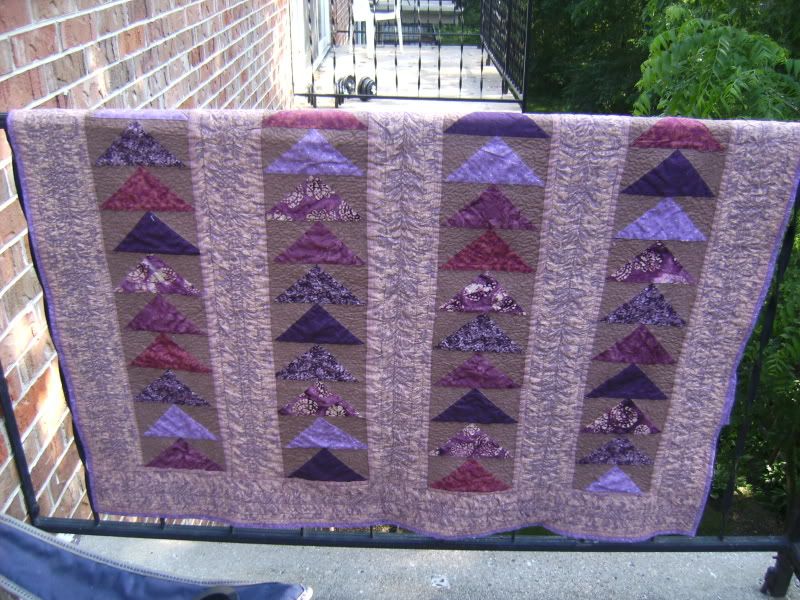
I love flying geese. Love, love, love them. So much so that I've made two quilts and one top:


Is there an end in sight? Probably not. They're just so much fun!

And so much more fun now that I know how to make FOUR flying geese from nothing but squares... No, I'm really not kidding! Read on...

In general, the accepted proportions for flying geese is that the width is twice the height. Since we want to end up with a Flying Dutchman Block that is 12" x 12", our flying geese need to finish at 3" by 6". Now that you know how large your flying geese need to be, you can get started with this super simple method.

All you have to do is take the finished width of your geese (6") and add 1 1/4" to it. That's your starting square size: 7 1/4". Now, I like to trim down, so I actually made my starting squares a quarter inch bigger, rounding up to 7 1/2".  For your sky triangles, the finished height of your geese is 3". If you remember the magic number for Half Square Triangles (because that's what the sky pieces are) you already know we need to add 7/8" to get the size you need to cut your sky squares to. Again, I trim down, so instead of 3 7/8", I cut mine at 4".

1.) Now, to make a Flying Dutchman, you need a total of eight flying geese. This means you need two squares at 7 1/2" and eight squares at 4".

2.) This next step you can just ignore... I like to do it, because I'm anal retentive. Just draw two lines on the 7 1/2" squares, from corner to corner, making an 'X'.


3.) Take your 4" squares, and draw one line from corner to corner, bisecting the square. That's your cut line.

4.) Now all the lines are drawn, take a big square and two little ones and pin them together like so:


5.) See a quarter inch seam on either side of the center line - I know it's kind of hard to see. Sorry! It didn't occur to me until after I was underway that I should have switched to black thread.


6.) All right. You've got two seams sewn in. Cut down the middle, following that center line that you just sewed alongside. I thought I took a photo of that, but clearly, I'm insane. Anyway, once it's cut, and you have two triangles, it's time to break out the iron.

7.) Press that sub-unit open, and you should have something that looks like a heart. Actually, you'll have two of them. Apply all of the following steps to both hearts.


8.) And don't worry! We're still on the right track. Take another 4" square and pin it to the sub-unit:


9.) Again, sew a quarter inch seam along either side of your drawn line:


10.) Now, cut in half (Yes, I know... a little late to actually have the post cutting pic):


Rinse and repeat all the steps for your second set of squares, and ta-daa!!


Eight perfect flying geese. Trim down to 3.5" by 6.5". then you're all set to make your Flying Dutchman block:


Don't you want to make tons and tons of flying geese now?  It's SO easy this way.

Sunday, May 22, 2011

PM/GC Skill Builders Series Part 7 - Leader/Ender Projects

Look familiar?
I use these all the time... Threads get tangled under the sewing plate or right at the beginning of the fabric, created snarls that make us snarl.

Just a little scrap of fabric, zipped under the sewing foot right before I start sewing patches together. Keeps everything nice and neat, and I'm not making like a frog more often than I need to be.

So, what's my point, right?

You might have read about Leader/Ender projects on other blogs. I have to admit, I don't use them as much I as could. I've got a ton of scraps, but I haven't really started making use of them in a while - Zebediah likes to use them to play in. He likes Momma to bury him in scraps.

Anyway... Leader/Ender projects are a great way to use scraps, OR to make blocks comprised of lots of small pieces. Typically, you see a lot of postage stamp quilts done this way, but really, anything could be done as a Leader/Ender projects.

The theory is that you just start off sewing patches together in pairs, starting off your piecing with a Leader, and sewing what you've set out to sew, and then ending with, well, an Ender. The trick is to leave that Ender under the needle without cutting the thread, so that you can just get right to it next time you sit down at your machine.

It just takes a little preparation.  Cut a bunch of your pieces and have them ready to go whenever you are. It's totally up to you what size and shape patches. Some projects that I think would make awesome Leader/Ender projects: anything scrappy, Double Wedding Rings, Postage Stamps Quilts, Stacked Coins...

The sky's the limit. I recommend selecting a project that you think you'd never have the patience to do otherwise. You'll build progress long before you realize it, and it's really confidence building to suddenly look and realize that you've got a good chunk of a quilt top ready to go with some chain piecing. That's why I mentioned the Double Wedding Ring. A lot of us have a lot of fear over some patterns. Leader/Ender projects are a great way to break something down into manageable chunks.

Check out http://www.quiltville.com/leadersenders.shtml for some excellent and diverse examples. There is a book out there too: Adventures With Leaders & Enders. Again, the sky is limit. Just get adventurous with them.

I have to admit - I've never really used Leaders and Enders, but I really should. It's such a useful way of getting something done without getting bogged down in the "will I ever finish this?" or the "why did I start this?"

Wednesday, May 18, 2011

PM/GC Skill Builders Series Part 6B - Nine Patches and Strip Piecing

I've been absent for a bit...

My mother-in-law went into for a routine mammogram a couple of weeks ago. The results weren't exactly routine. Lumps were found, and her doctor sent her home with the expectation that she was likely dealing with breast cancer. Five days after the lumps were found, my mother-in-law underwent a lumpectomy, so that they could be biopsied. I've seen my husband worried and scared before, but never to such a degree. He lost his father when he was twelve, so this was agonizing for him.

Two days of anxious waiting after the lumpectomy - It's not cancer. Thank God.

So, the last couple of weeks have been spent keeping kiddo out of grandma's hair so that she could recuperate and re-connecting as a family. Sometimes it's just so easy to forget how much certain people mean to one's life. I haven't lost nearly as much family as my husband has, so it's one of those lessons that just hit home, and I wanted to hunker down with the family for a bit.

Now, having said that, I'm BACK! Again, lol. I've rediscovered that more than five hours of sleep really screws me up - I spend the day tired and groggy. I'm so much better off sleeping less rather than more. So, these hours between midnight and 2 AM - those are MY hours. I'm re-claiming them for sewing and writing.

Now, let's get down to business:

STRIP PIECING IS OUR FRIEND!

If you haven't strip-pieced yet, you're going to ask yourself why you haven't done this yet! It's so simple, and is really just a matter of forethought. Nine-patches are a great way to learn strip piece. I've decided to make a Double Nine Patch block today that finishes at 12", to complement Sandi's lesson here.

Strip-piecing is exactly as it sounds: You piece longer strips together, and cut those pre-pieced strips so that you've made several subunits with way less cutting and matching. You just have to know how long your strips should start out at, which is super simple multiplication. For instance, our Double Nine Patch block requires that the starting squares be 2.5" each.

Since I'm only making one block, it's really not that big a deal to cut a bunch of 2.5" squares and piece them together. However, if I needed to make several of the same block, there is no way that I'm cutting that many 2.5" squares and trusting that they'll all remain where I need them to.  Thus, a little multiplication.

Nine patch blocks break down easily into three sections, of alternating values. This means that I have two identical sections and one that differs. Since I'm making two nine patch blocks, I need four and two. 2.5" times four is 10" in length, and 2.5" times two is 5" in length. You'll see where these come into play in a bit.

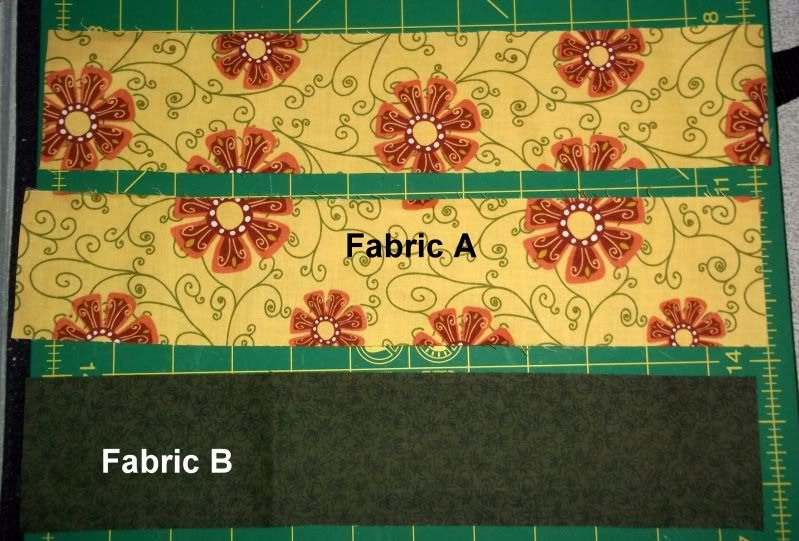
Start off by cutting two 2.5" x 10" strips of Fabric A and one the same size of Fabric B if you feel comfortable cutting the length exactly. I cut my strips at 2.5" x 12" because I prefer to trim down and be sure that my sub-units are the correct sizes.Then cut two 2.5" x 5" strips of Fabric B and one the same size of Fabric A. Again, I actually left the length longer, so that I could be sure of the finished sizes of segments.


Now, just take one 2.5 x 10" strip each of Fabric A and Fabric B and put them right sides together. Sew a scant 1/4" seam along the full 10" length. Take the second strip of Fabric A and sew to the other side of Fabric B, so that your fabrics alternate.  Do the same for the 2.5" x 5" strips, just ensure that Fabric A is your center fabric.

Iron your seams open or to one side. Again, I'm a seams open gal. Your strip units should appear something like:
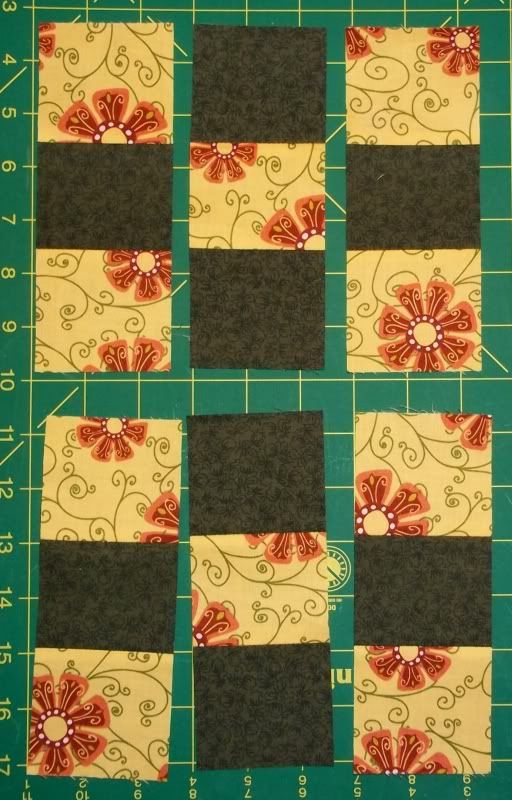
Once your seams are all behaving, cut four 2.5" wide segments from your 10" strip. Cut two 2.5" wide segment from your 5" strip. You should have a set of six sub-units like this:
I've laid them out in the order that the finished blocks will appear, because I'm visual and have to see them in the right order as I'm piecing, or I freak out constantly and second-guess myself.

Sew your sub-units together and you should have two nine-patch blocks:
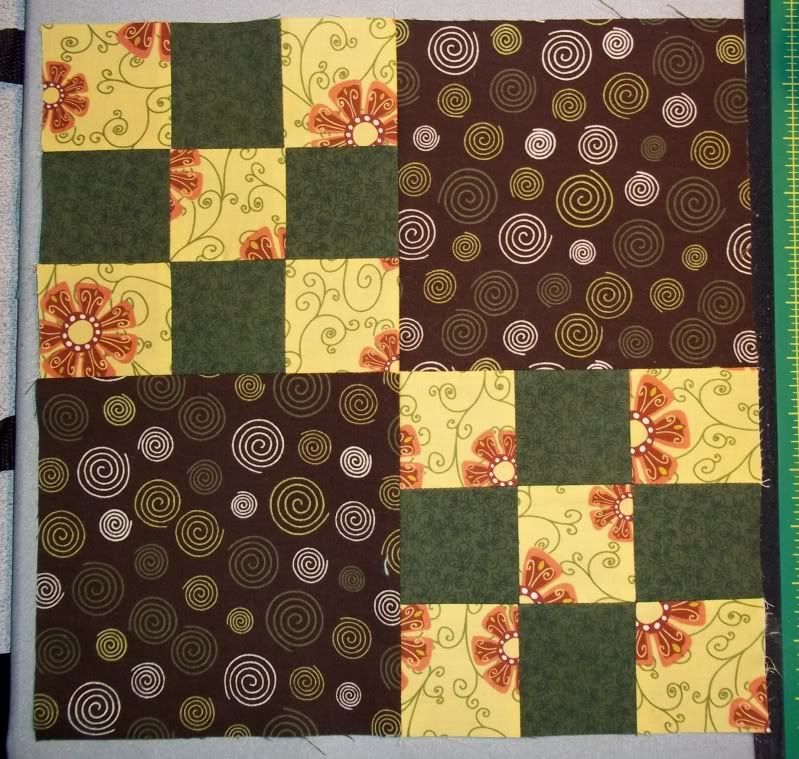
Now that you've got two perfect 6.5" nine patch blocks, but now you need two 6.5" squares cut from a single fabric to make a Double Nine Patch. Go on and cut those, and sew all four units together to make a block like so:
And there you have it! Strip-piecing is a wonderful technique that takes away a lot of the "OMG! So many pieces!" agony that we all experience at some point.

Wednesday, April 27, 2011

PM/GC Skill Builders Series Part 5 - Fabric Fundamentals...

...or, We Bought the Pretties. Now What Do We Do With It?!? (For Sandi's segment on Quarter Inch Seams, go here.) This is a word-heavy post. Some things there are just no photos for...


Getting to Know Your Fabric

Straight of grain runs parallel to the selvage. In the photo below, I selected a fabric with a clearly denoted selvage. Look for the finished border to your fabric, running along the length of it, with fabric that's been printed to the edge. When you pull the fabric along the straight of grain, there is very little give. Your cross grain is exactly what it sounds like and run perpendicular to the the straight of grain. You'll find that the cross grain has more give. Some folks say that you can tell the difference between cross grain and straight of grain by the sharpness of the sound when you snap the fabric. I couldn't tell you - I've never done it.

True bias runs at a 45 degree angle to your selvage or straight of grain. This is important to be aware of because bias cut fabric will have a lot of stretch. This is why bias binding is used for curves.
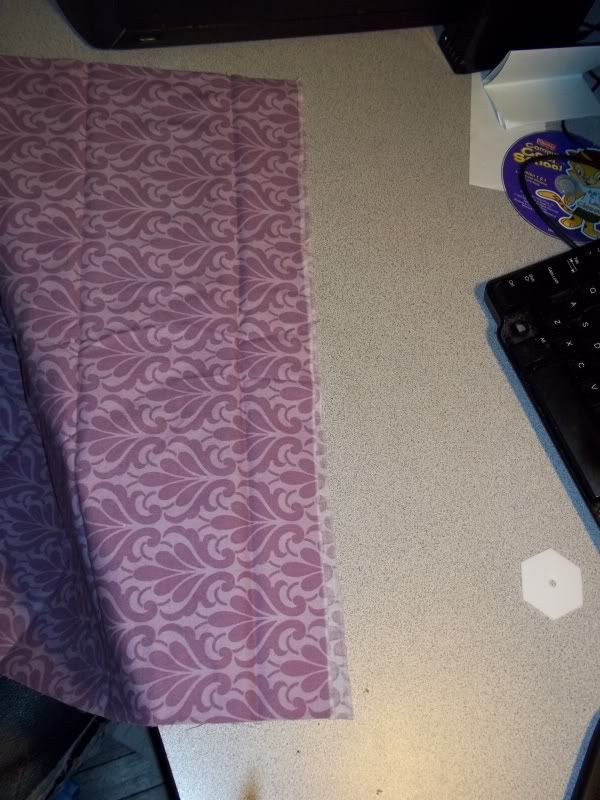
But, whoops! We've cut the selvage off our fabric, as in the photo below. How do we create a truly straight edge in order to avoid bias edges?

1.) Make a small cut through only one layer of fabric, perhaps an inch long:
2.) Take that little bit of fabric and RIP it. Seriously. Rip the fabric with your bare hands. It's easy. (Yeah, Zeb had to get involved when he saw a camera out).
3.) Align your newly straight edges and cut as usual.You can see some of the thread of the fabric that got pulled out. That's nothing to worry about.

To Pre-Wash Or Not?

I used to be a dedicated pre-washer. In fact, I still pre-wash. However, now I have a lot more information at my disposal. My new answer to the pre-washing debate, which actually comes up quite a bit, is "It depends".

"It depends on what?" you might ask.

First of all, am I going to simply stash the fabric question? If yes, then I am quite likely to just put it on the shelves without washing.  Now, why would I do that? Because fabric straight off the bolt has been chemically treated with preservatives that are stain resistant, maintain pH balance, mitigate discoloration, prevent mold and fungi infestations, and, in general, keep our own handling of the fabrics from harming them further.  

Yes, I said that our own handling of material damages fabrics. I give you Locard's Principle of Exchange, which states that 'with contact between two items, there will always be an exchange'. This principle is typically connected with forensic sciences, but those of who collect (whether we collect fabrics, yarns, buttons, or coins) need to be aware of it too. Basically, it means that no matter how minute the contact is between me and my fabric, I'm going to leave evidence of that contact.

This will typically be in the form of oil from my skin (which can be harmful all on its lonesome, carrying dirt, disease and acid), but what if I was just scrubbing my kitchen floor with bleach in the mop water before I went to work in the sewing room? No matter how well I scrub, there will still be traces of that bleach on my hands. Now, imagine that I touched my fabric. I might have just created a series of small, slowly self-bleaching spots on my fabric, if I've pre-washed, and especially if my fabric is exposed to sunlight in concentrated amounts.

If I had left my stash fabrics unwashed, that bleach might not have become a problem. The layer of preservative that I left intact would have continued to do their job and keep my fabric looking as crisp and bright as the day I bought it.

I also have a little boy who likes to play in my fabrics. He's three and thinks that dirt and mud are the best stuff on earth. I'm not always around to police his access to my fabrics. I can't tell you how many times I've found my fabric rifled through, with little hand prints all over it. Honestly, it would be less of an issue if my fabrics weren't pre-washed. They'd still have the stain-resistant coatings on them to prevent his little fingers from being little stains.

But, now, keep in mind that I said, "It depends." A lot of people are allergic to some of the most common preservatives in the world. Do you walk into your sewing room, or wherever your stash is stashed, and find yourself sneezing, no matter how often you de-lint your sewing machine? Do you have skin irritation after handling your sewing projects? You probably ought to consider pre-washing your stash. 

It's that particular circumstance that always has me washing anything that I'm going to use in a swap. I don't want to make the recipient of my gift sick, and allergies are insidious things. 

On that same token, because about 75% of my stash is currently washed, if I plan on mixing newer fabrics with stashed fabric, I have to wash the newer fabrics. Pre-washed fabrics means pre-shrunk (about 2-3% size loss), and I don't want to have unsightly puckers from disparate shrink rates. What do I mean by that? Well, if my preshrunk fabric was accurately cut to 2" finished squares and experienced no further shrinkage, while the new, not pre-washed fabric shrank the average 2-3%, then I'd have some billowy sections contrasted with more taut sections.

Another instance in which I'd pre-wash is when I have concerns about color fastness. We've all heard horror stories about the quilt that went in the washer white and red and came out pink and red! I pre-wash to get rid of excess dye and dry on high heat to set the remaining color. Some people swear by color catchers. Due to my previous staunch pre-washing stance, I've never had need of them, so I can't vouch for their effectiveness.

Pressing versus Ironing, and When to Steam or Spritz?

This is another little thing that can make a huge difference. Ironing is the act of dragging our hot iron back and forth across fabric to get the wrinkles out of it. Ironing can cause distortion! We're taught to iron damp fabric, so we're steaming, spritzing or starting with damp fabric. Dragging is friction, which can cause the grain line of fabric to be moved, especially if it's damp. Ever iron a fabric that's a repeat stripe and suddenly realize that it's not a straight line anymore, but is now curving? That would be because of ironing.

Pressing is lifting your hot iron and setting on the piece of fabric or seam to be flattened, and holding it until the seam or fabric is set. You then lift the iron up and set it on the next section of seam or fabric and hold again, with some overlap with what you've already pressed. This is often done with a dry iron and dry fabric, in contrast to ironing.

Personally, I aim to press my quilting projects, and I always use a dry iron. I start by pressing the wrong side of the fabric first to set the seams, and flip, and repeat the pressing process. The only time I steam or spritz is when I'm pressing the finished block, so that I can set the seams.